Website Tracking
In this workshop, you’ll learn how to track visitor activities on an external website. You will set up web tracking, install the external tracking data kit, deploy the data streams, and copy the web tracking script on a website.
Configure Web Tracking
In this exercise you will create a website connector and obtain a beacon tracking code to track web page visits on an external website.
- Click on the icon and select Setup.
- In the Quick Find field, enter
web trackingand select Web Tracking. - In the External Websites section, ensure Require Consent to Track is enabled.
- In the Install External Tracking Data Kit section, click Install Data Kit.
- In the Create Website Connectors section, enter
NTO Websitein the Name field. - In the Manage Website Connectors section, select NTO Website from the Website Connector menu.
- In the Web tracking script section, copy the url value in the
srcattribute and paste it in a text editor for use in a later exercise.
Customize Consent Banner
Consent Banner
To protect the privacy of your site visitors, use the default consent banner to collect consent to track. For production websites, you are responsible for complying with regional privacy laws and regulations applicable to your business.
In the Customize Consent Banner section, set the following field values:
- Banner color:
#6DCCEE - Privacy Policy Link Text:
Privacy Information - Privacy Policy Link:
https://www.salesforce.com/company/legal/privacy/ - Text Color:
#097FB3 - Accept Button Color:
#097FB3 - Accept Button Text Color:
#FFFFFF - Reject Button Color:
#097FB3 - Reject Button Text Color:
#FFFFFF
- Banner color:
Click Save.
Note
A dialog will be displayed that your changes aren’t published. You can ignore this message.
- Click Got It.
Deploy Data Streams
In this exercise, you will create website data streams using a data kit. These data streams will be use to capture website visits and are already mapped a corresponding DMOs.
- In the Deploy Web Tracking Data Streams section, click Go To Data Streams to open the Data Streams page.
- Click New.
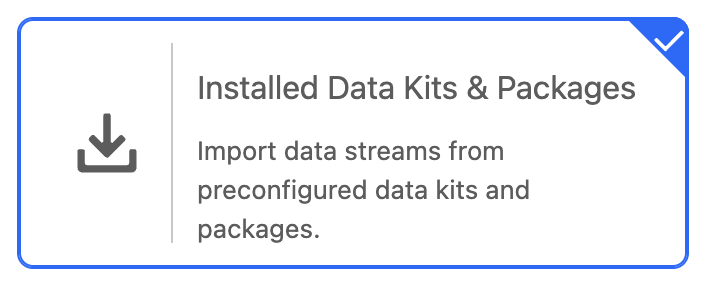
- In the Other Sources section, select the Installed Data Kits & Packages tile.
- Click Next.
- Select External Tracking from the Data Kits menu and select all data kits.
- Click Next.
- Select Website from the Connector Type menu.
- Select NTO Website from the Connector Name menu.
- Click Next.
- Review the data stream fields and click Next.
- Click Deploy.
Configure Website
In this exercise, you will a B2C eCommerce website that emulates a realistic online shopping experience that you can run in a web browser on your computer. No additional software is required.
- Download nto-website.zip to your local computer and unzip the compressed file.
- Open app > static > js > main.js in a text editor.
- Locate the string
INSERT_BEACON_URLon line 34. - Replace this placeholder string with the url value that you copied in the Configure Web Tracking exercise.
- Save the JavaScript file.
Test Web Tracking
Now that you have configured web tracking on an external website, in this exercise, you can validate that web engagement records are being created in Data 360.
- Open the index.html file from the nto-website folder in your web browser.
- Click Accept in the consent banner that you customized in an earlier exercise.
Note
After you select an option in the consent banner, a custom script stores your choice and prevents the banner from displaying again. To make the banner reappear, open your browser’s local storage, find the site_consent_status key, and delete it.

- Use the navigation menu to browse to different categories and product pages on the website.
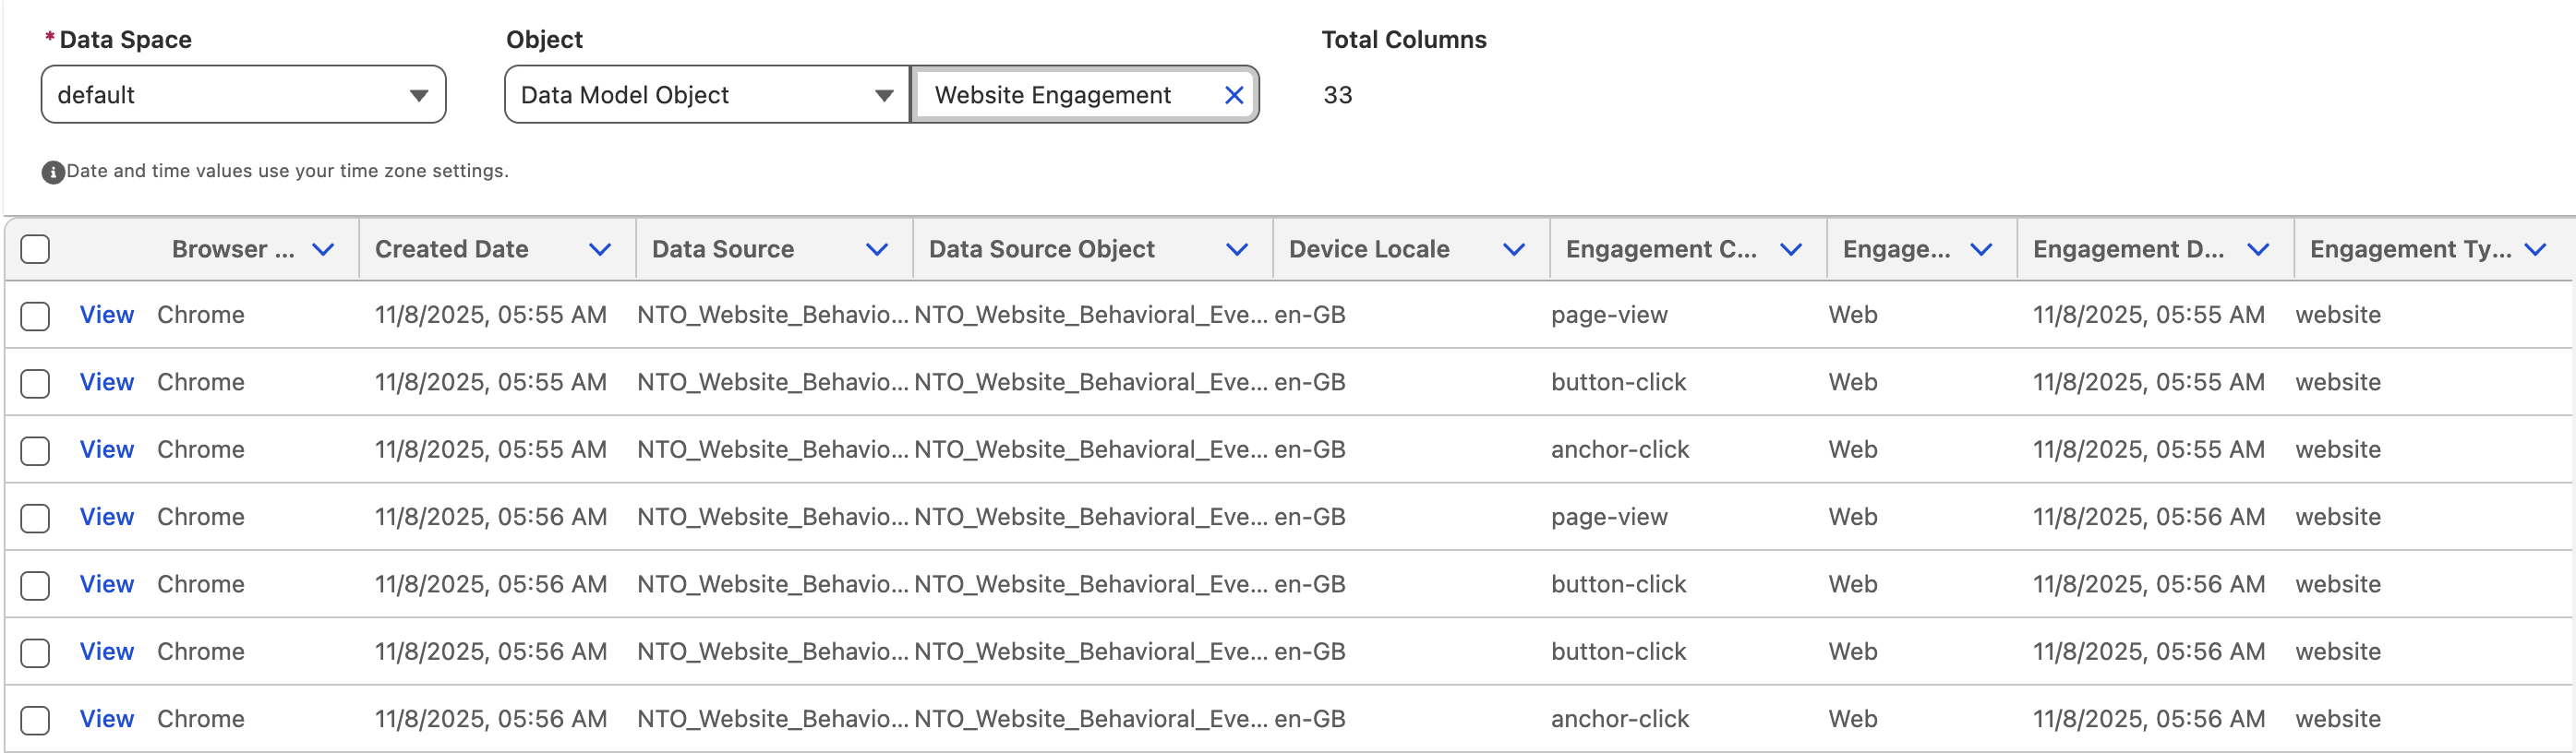
- Open Data Explorer from App Launcher
. - Select Data Model Object from the Object menu.
- Search for
Website Engagementin the Object field. - Review the records that were created to confirm your browsing activity has been tracked successfully.