Dynamic Content
To increase customer engagement and improve conversations, you personalize your marketing content in Agentforce Marketing. In this workshop, you will personalize an email using merge fields and dynamic content variations that appear for different recipients based on targeting rules.
Workshop Prerequisites
Please ensure you have completed the Data Graphs workshop before starting this one, as it relies on a configured data graph that includes specific DMO attributes.
Create Dynamic Content Variations
In this exercise, you will create multiple variations and configure a targeting rules to determine when that variation appears for a recipient.
- From the Marketing app, select the Content tab.
- Select Content Workspace for Marketing Cloud from the list view.
- Select the email you published in the Create Campaign workshop.
- Click Edit.
Set Data Graph
Before personalizing content, you will need to choose a Data Graph that is based on the Unified Individual object. By default, the Data Graph defined in the Customer Engagement section of Setup is used for email personalization. However, you can override this setting and choose a different Data Graph at the email level.
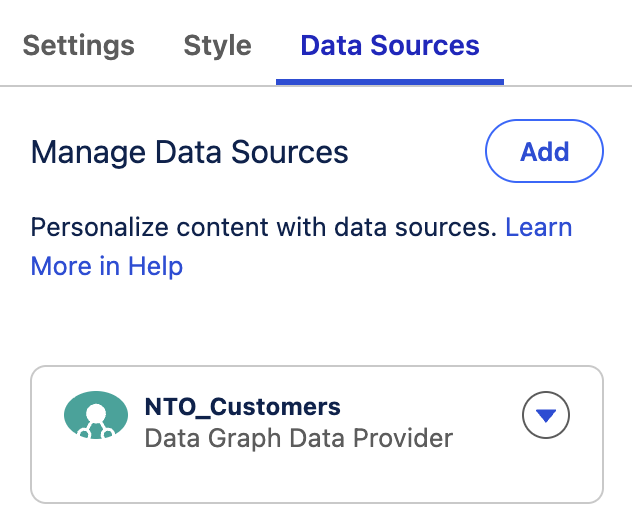
- From the Email panel, select the Data Sources tab.
- Click on the
in the Default data sources card and select Replace. - Select NTO Customers from the Data Graph menu and click Save.
Create Image Variations
- Select the image component in the email that you added earlier.
- From the Dynamic Content section in the Image panel, click
New Variation. - Click New Variation.
- In the Variation and Decision Name field, enter
US West States. - Click
Add Group - In the Resource field, select Related Attributes > Unified Link Individual > Contact Point Address > State Province.
- Update the Measurement field to Count.
- Update the Operator to Has Value.
- Update the Operator in the WHERE clause to Is In.
- Add the values
AZ,CA,CO,OR,NV,WA,UT, then select the values from the menu option to add them to the condition. - Click Save.
- In the Dynamic Content Settings panel, select Replace from the image thumbnail menu.
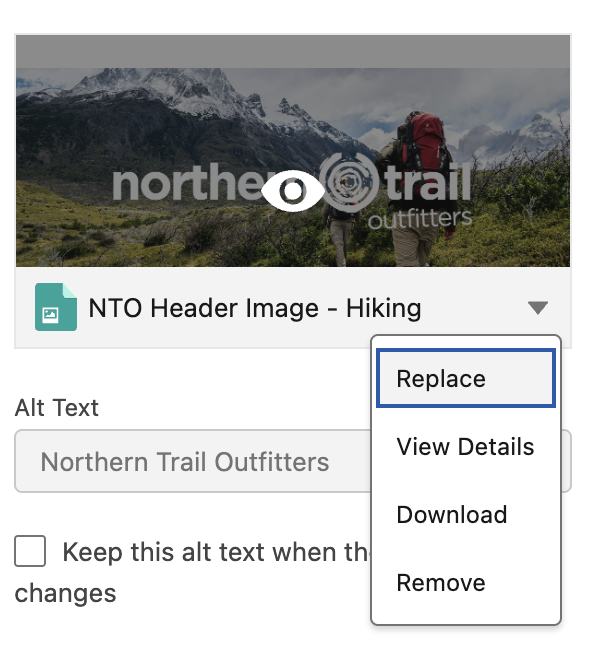
- Click New.
- In the Add Image dialog, enter
NTO Header Image - Campingin the Title field. - Enter
Northern Trail Outfittersin the Alt Text field. - Right-click this link and save the image to your local computer.
- Click
Upload - Select the image that you downloaded previously and click Done.
- Click Save.
- From the Dynamic Content section in the Image panel, click
New Variation from the Variation menu. - In the Variation and Decision Name field, enter
US East States. - Click
Add Group - In the Resource field, select Related Attributes > Unified Link Individual > Contact Point Address > State Province.
- Update the Measurement field to Count.
- Update the Operator to Has Value.
- Update the Operator in the WHERE clause to Is In.
- Add the values
FL,GA,SC,NY,NJ,PA,CT,RI,MA,MD, then select the values from the menu option to add them to the condition. - Click Save.
- In the Dynamic Content Settings panel, select Replace from the image thumbnail menu.
- Click New.
- In the Add Image dialog, enter
NTO Header Image - Mountain Bikingin the Title field. - Enter
Northern Trail Outfittersin the Alt Text field. - Right-click this link and save the image to your local computer.
- Click
Upload - Select the image that you downloaded previously and click Done.
- Click Save.
Add Merge Field from Data Graph
In this exercise, you will use an attribute from your data graph as a merge field in your email.
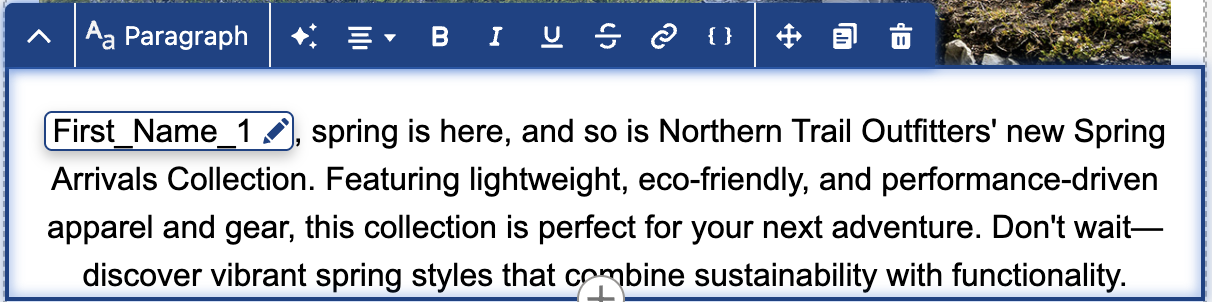
- Click on the paragraph of text in your email.
- Place your cursor at the start of the paragraph.
- Click on the
icon from the component menu. - Click Select Data Graph Attribute
- In the Resource field, clic Related Objects > Unified Link Individual > Individual > First Name.
- Click Next.
- Click Done.
- Edit the copy by adding a comma after the merge field and changing the first word to lowercase.
- Click Save, Publish, Next, and Publish Now.
- Click the back arrow
in the top left corner of the page to return to the Email page.
Preview and Test Email
- Return to your campaign by selecting the Campaigns tab and click on the campaign you created in the previous workshop.
- Click on Publish in the Start Trigger flow component.
- Wait a minute, then refresh the page until the Publish Status displays Success. Repeat this step if required.
- Click Preview and Test in the Send Email Message flow component.
- Select the Segment (if it's not already selected).
- Select different records from the Sample Recipient menu to preview the dynamic content variations.
- Click on the Test tab and enter your email address in the Test Send Email Address field.
- Click Send Test.