Repeaters in Emails
The repeater component in Agentforce Marketing allows you to include series of items such as new or best-selling products, recent order updates, upcoming events or promotions, and more in emails. In this workshop, you will learn how to connect the repeater to data graph attributes, and customize the repeater layout, add merge fields to nested components and include a list of suggested products for customers.
Prepare Sample Data
In this exercise, you will create a sample data set for customers that includes a one-to-many relationship for customer preferences.
- Save this template to your local computer.
- Search for Data Cloud from App Launcher
. - Select Data Cloud.
- Select the Data Explorer tab.
- Select Data Model Object from the Object menu.
- Search for Contact in the Select an Object menu.
- Select Account Contact
- Open the template you downloaded earlier in spreadsheet software (or import into Google Sheets), then copy and paste 5 random Account Contact Id values into the gray cells in the sample ids worksheet.
- Click on the output data worksheet.
- Export the worksheet to a CSV file.
Create Data Stream
You will now create a data stream to ingest the sample data file that you created in the previous exercise and map attributes to a custom data model object.
- Select the Data Streams tab.
- Click New.
- Select the File Upload tile.
- Click Next.
- Select
Upload Files. - Select the CSV file you saved in the previous exercise.
- Update the Data Lake Object Label to
Product Suggestions - In the Properties tab, set Category to Other and Primary Key as SKU
- Click Next
- Click Deploy
- In the Data Mapping card, click Start.
- In the Data Model entities card, click Select Objects and wait for the objects to load.
- Click the Custom Data Model tab.
- Select the New Custom Object tile.
- Click Save.
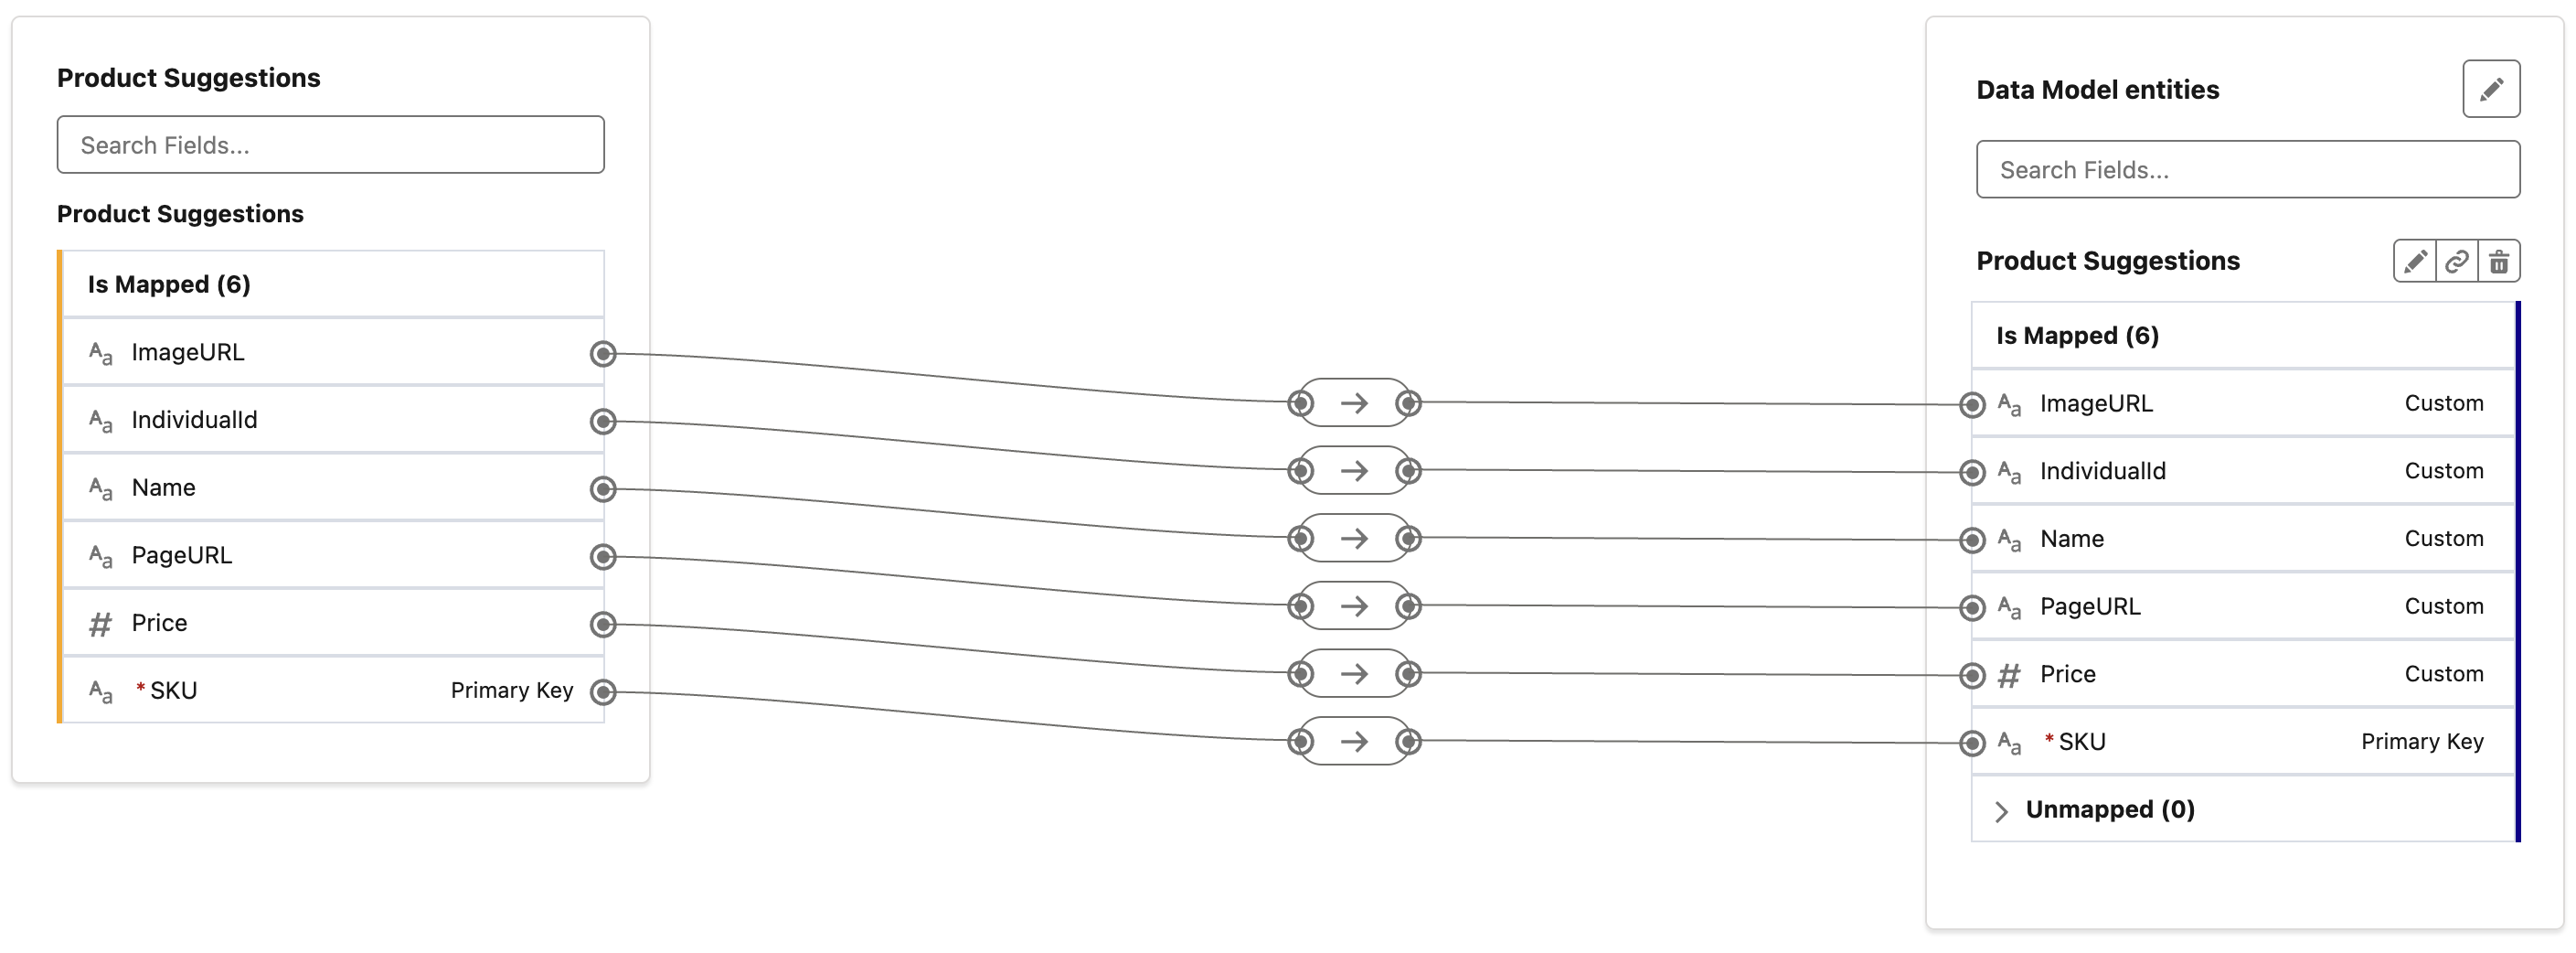
- Click Save & Close.
Create a Data Relationship
Data model objects (DMOs) can have a standard or custom relationships with other DMOs. In this exercise, you will create a many-to-one relationship between the sample data set you uploaded to the Individual DMO.
- Select the Data Model tab.
- Locate the data model object you created in the previous exercise by entering
suggestionsin the Search field, then click return. - Open the Product Suggestions data model object.
- Click on the Relationships tab.
- Click New.
- Click
New Relationship. - Configure the object relationship with the following settings:
- Field:
IndividualId - Cardinality:
N:1 - Related Object:
Data Cloud - Related Object Name:
Individual - Related Field:
Individual Id
- Click Save & Close
Run Identity Resolution Ruleset
In order to create a segment on a unified individual, you will need to run the Identity Resolution ruleset you created from the setup guide.
- Select the Identity Resolutions tab.
- Select the ruleset you created during setup.
- Click the Run Ruleset button.
Running Rulesets
The ruleset should take around 10 minutes to run. You can click Update Stats to check the Ruleset Status. In the meantime, you can continue to the next exercise.
Create a Data Graph
In this exercise, you will create a data graph to bring together structured data from two different DMOs, which will be used to power personalization and dynamic content in a repeater component.
- Select the Data Graphs tab (you might need to access it from the
More tab). - Click New
- Leave the Start from Scratch tile selected and click Next.
- Leave the Standard Data Graph tile selected and click Next.
- Enter
Product Suggestionsin the Data Graph Name field. - Search for Unified Individual in the Primary Data Model Object field.
- Click Next.
- Select the First Name field checkbox from the Unified Individual table.
- In the Data Model Objects tree, click the
icon next to Unified Individual (Primary Data Model Object) and select Unified Link Individual. - click the
icon next to Unified Link Individual and select Individual. - click the
icon next to Individual and select Product Suggestions.
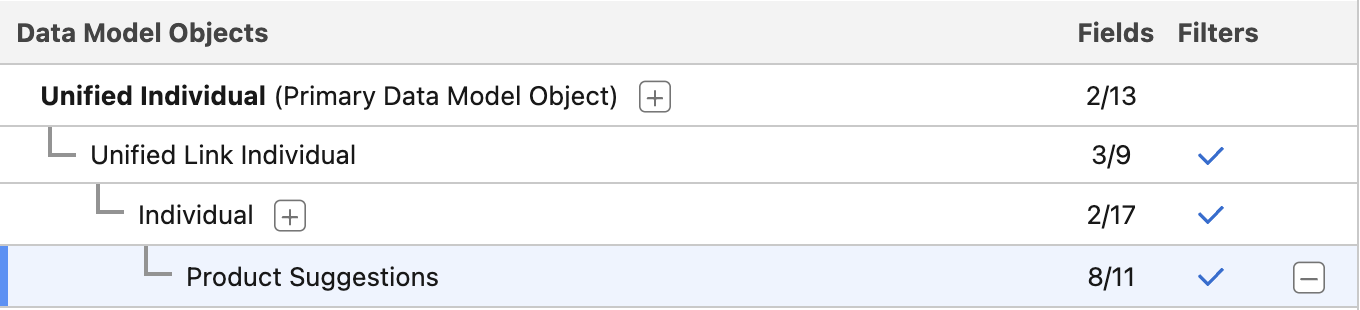
- Select checkboxes for the following fields:
- ImageURL
- Name
- PageURL
- Price
- Click Save and Build
- Set the Refresh Interval to Monthly.
Refresh Schedule
Refresh intervals for data graphs allows you to tailor refresh frequency to business requirements or data update rates. For the purposes of this workshop, there is not a requirement to update the data graph frequently.
- Click Save and Build.
Create Segment
In this exercise, you will build a customer segment based on records from your sample data file you created earlier.
- Click on the Segments tab.
- Click New.
- Select the Create with Einstein Segment Creation tile.
- Select Unified Individual from the Segment On menu.
- Click Next.
- In the prompt field, enter the following message, and replace the
[insert values here]by copying and pasting the 5 values that you added to sample ids worksheet in the earlier exercise.
Create a segment that only includes the following Account Contact Ids:

[insert values here]- Select the checkbox in the Suggested Attributes row.
- Click Create Segment
- Confirm the Segment Population count is 5.
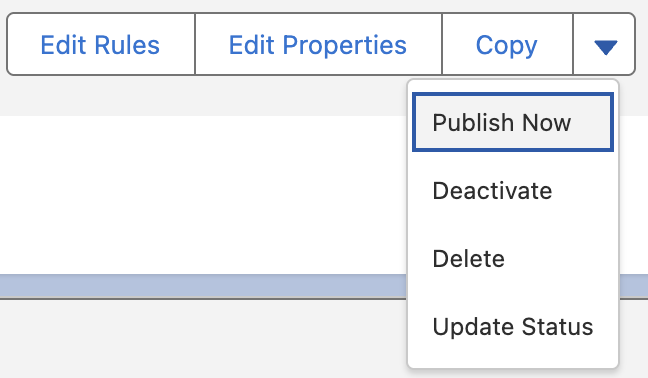
- Select Publish Now from the
in the button group. - The segment will take a few minutes to publish, but you can continue to the next exercise.
Warning Message
The following warning message will appear. You can safely ignore this warning, for the purposes of this workshop.
This segment is scheduled to publish without an activation. To start sending this segment to an activation target, add an activation.
Add Trusted URL
The sample data file that you imported in a previous exercise contains a URL to an external image source, which will be used by a repeater component in you email. In order to allow the image to appear when previewing the email in Agentforce Marketing, the URL domain needs to be added as a Trusted URL.
- Click on the icon and click the first Setup menu item.
- In the Quick Find field, enter
Trustedand select Trusted URLs. - Click New Trusted URL.
- Enter
NTOin the API Name field. - Enter
https://www.northerntrailoutfitters.comin the URL field. - Click Save.
Create Email
Now that your data is imported, unified and segmented, you can now create an email to display the sample customer preferences data.
- Search for Marketing from App Launcher
. - Select the Marketing App (with a gray icon).
- Click on the Content tab.
- Click on Content Workspace for Marketing Cloud.
- Click Add
and select Content. - Click on the Email radio button, then click Create.
- Select the Use Components tile, then click Select.
- Under the Subject Line heading in the Content tab, enter
Discover What We Think You’ll Lovein the highlighted field.
Set Data Graph
Before personalizing content, you will need to choose a Data Graph that is based on the Unified Individual object. By default, the Data Graph defined in the Customer Engagement section of Setup is used for email personalization. However, you can override this setting and choose a different Data Graph at the email level.
- From the Email panel, select the Data Sources tab.
- Click the Add button.
- Select Data Graph Data Provider from the Type menu.
- Select Product Suggestions from the Data Graph menu and click Save.
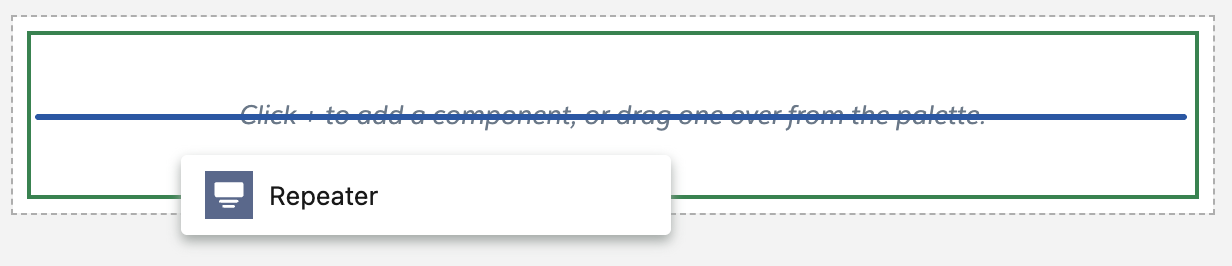
Add Repeater Component
- Click on the Layout
component section and drag the Repeater component to the email content area.
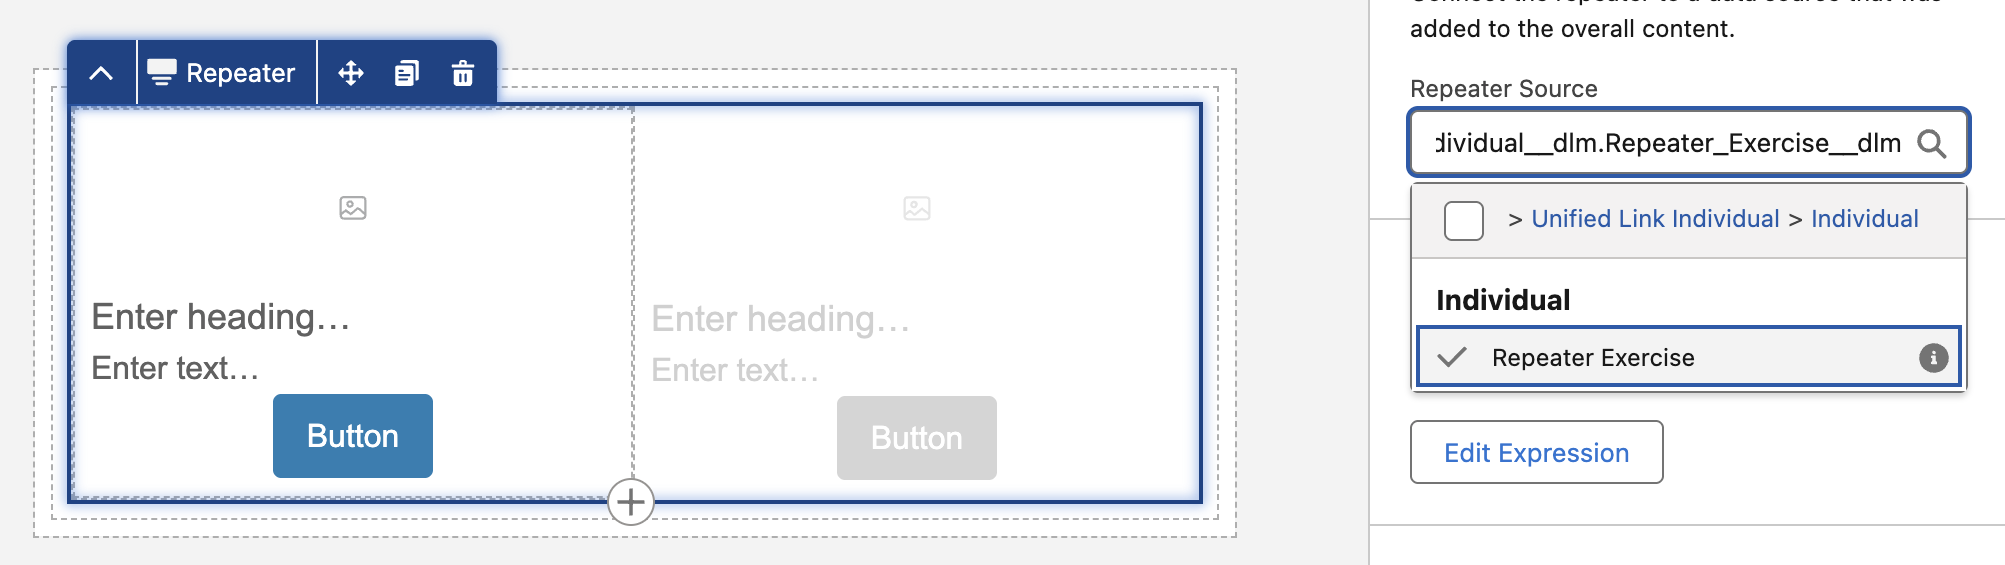
- With the repeater component selected in the email, select the following path from the Repeater Source field:
- Select Data Graph Attribute
- Unified Link Individual
- Individual
- Product Suggestions
- Increase the maximum Number of Items to Show to
6in the Data Layout section. - Click on the first image component
in the email content area. - In the Select image source option, select Merge field.
- Below the Source field, click Add Merge Field and validate ImageURL appears in the Source field.
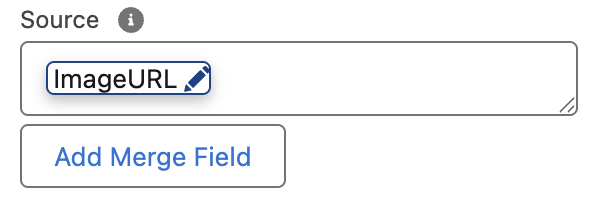
Missing Source Merge Field
There is an intermittent issue in the current release where the selected merge field value may not populate the Source field as expected. If this occurs, manually enter the expression {!$Expression.ImageURL} in the Source field.
- Select Product_Suggestions, then ImageURL.
- Click Done in the Configure Merge Field Details dialog.
- Select the Enter heading... placeholder below the image and click the
icon from the component menu. - Select Product_Suggestions, then Name.
- Click Done.
- Select the Enter text... placeholder, type
$in the field and click theicon from the component menu. - Select Product_Suggestions, then Price.
- Click Done.
- Select the Button component and enter
Buy Nowin the Button Text field. - Click Configure Action from the Dynamic Content panel.
- Set the Button Action to Link to Dynamic URL.
- Click Add Merge field.
- Select Product_Suggestions then PageURL.
- Click Done.
- Optionally, you can change the style settings to the merge fields you added.
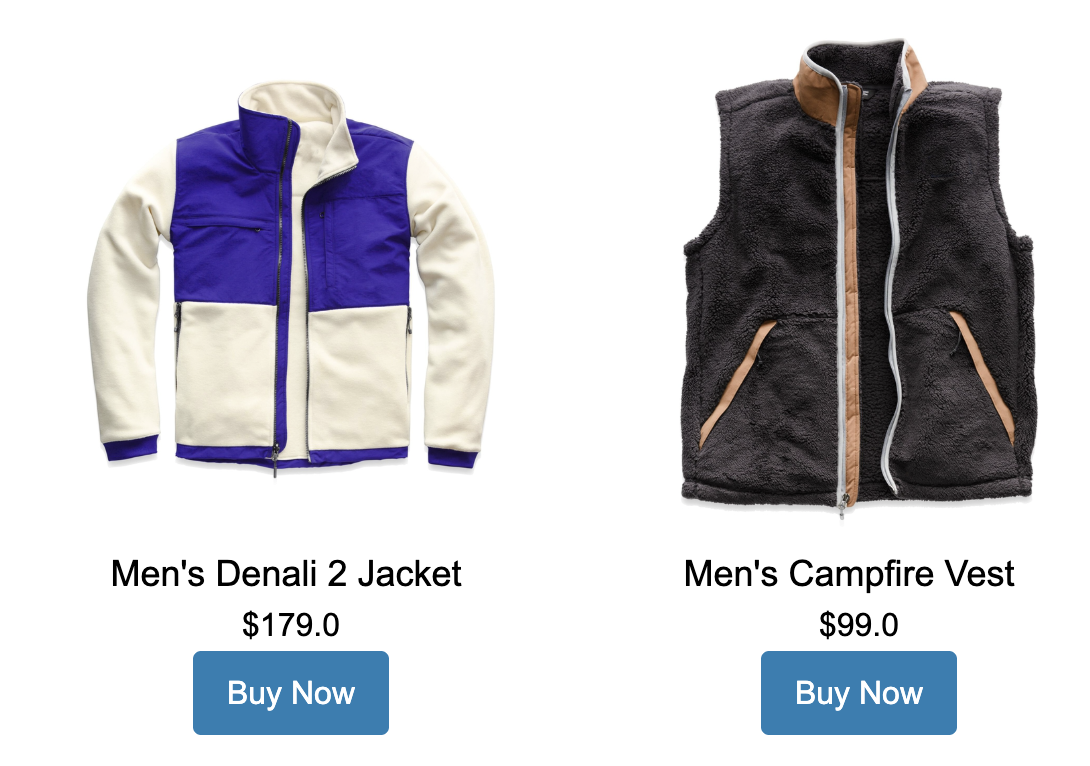
- Your configured component should look similar to the below screenshot.
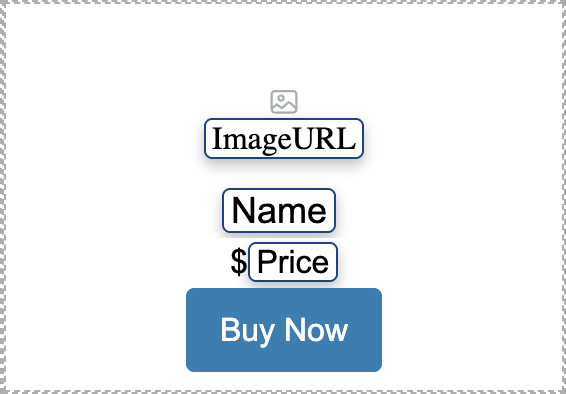
- Click Save.
- Click Preview.
- In the Segment field, select the Targeted Account Contact Ids Segment that you created in an earlier exercise using Einstein Segment Creation.
- Select any name from the Sample Recipient menu.
- Preview the rendered product suggestions data in the email.