API Triggered Flows
In this workshop, you’ll learn how to trigger an on-demand flow using the Salesforce REST API. The flow will send a personalised email to a new Individual.
This use case simulates how an external platform—such as a customer portal—can initiate a flow to send a password reset email or similar notification.
Create Apex Class
Skip If Previously Completed
If you have already completed the Record-Triggered Emails workshop, you can skip this exercise.
To personalize your email with variables from a Flow interview, you will need to define a simple Apex Wrapper class. This class acts as a Data Transfer Object (DTO), structuring your Flow data into a format that the Apex Class Data Provider can easily consume to dynamically populate email content.
- Click on the icon and click the first Setup menu item.
- In the Quick Find field, enter
Apex Classesand select Apex Classes from the Custom Code menu. - Click New.
- Copy and paste the code in the Apex Class text area.
- Click Save.
public class contactValues {

    @AuraEnabled public String firstName;

}
Adding Apex Variables
This simple class will pass a Contact's first name from a Flow interview into a personalized email. If you need more personalization strings, you can easily extend this class by duplicating the line in this class for other field values.
Create Apex Test Class (Optional)
Apex test classes are separate scripts that simulate user actions and system events. They create mock data in a temporary, isolated environment to see if your logic evaluates correctly. You can't deploy code to a Production environment unless your test classes cover at least 75% of your executable lines.
While not required in an SDO, you will need to choose a deployment method in production environments which includes validating all test classes in your org.
A sample test class is provided below. Follow the steps in the previous exercise to add this test class to your org.
@isTest
private class ContactValuesTest {

    @isTest
    static void testContactValuesProperties() {
        contactValues cv = new contactValues();
        cv.firstName = 'John';
        System.assertEquals('John', cv.firstName, 'FirstName should be set');
    }

    @isTest
    static void testContactValuesWithEmptyValues() {
        contactValues cv = new contactValues();
        cv.firstName = '';
        System.assertEquals('', cv.firstName, 'FirstName can be empty');
    }
}
Create Welcome Email
Skip If Previously Completed
If you have already completed the Record-Triggered Emails workshop, you can skip this exercise.
- Search for
Marketingfrom App Launcher. - Select the Marketing App (with a gray icon).
- Select the Content tab.
- Select Content Workspace for Marketing Cloud from the list view.
- Click Add
and select Content. - Click on the Email radio button, then click Create.
- Select the Use Components tile and click Select.
- Click the pencil icon
Under the Subject Line heading and enter the subject line Welcome to Northern Trail Outfittersin the highlighted Subject Line field. - Change the Message Purpose field to Transactional.
- Drag the Paragraph component to the email content area.
- Paste the below text in the paragraph content block.
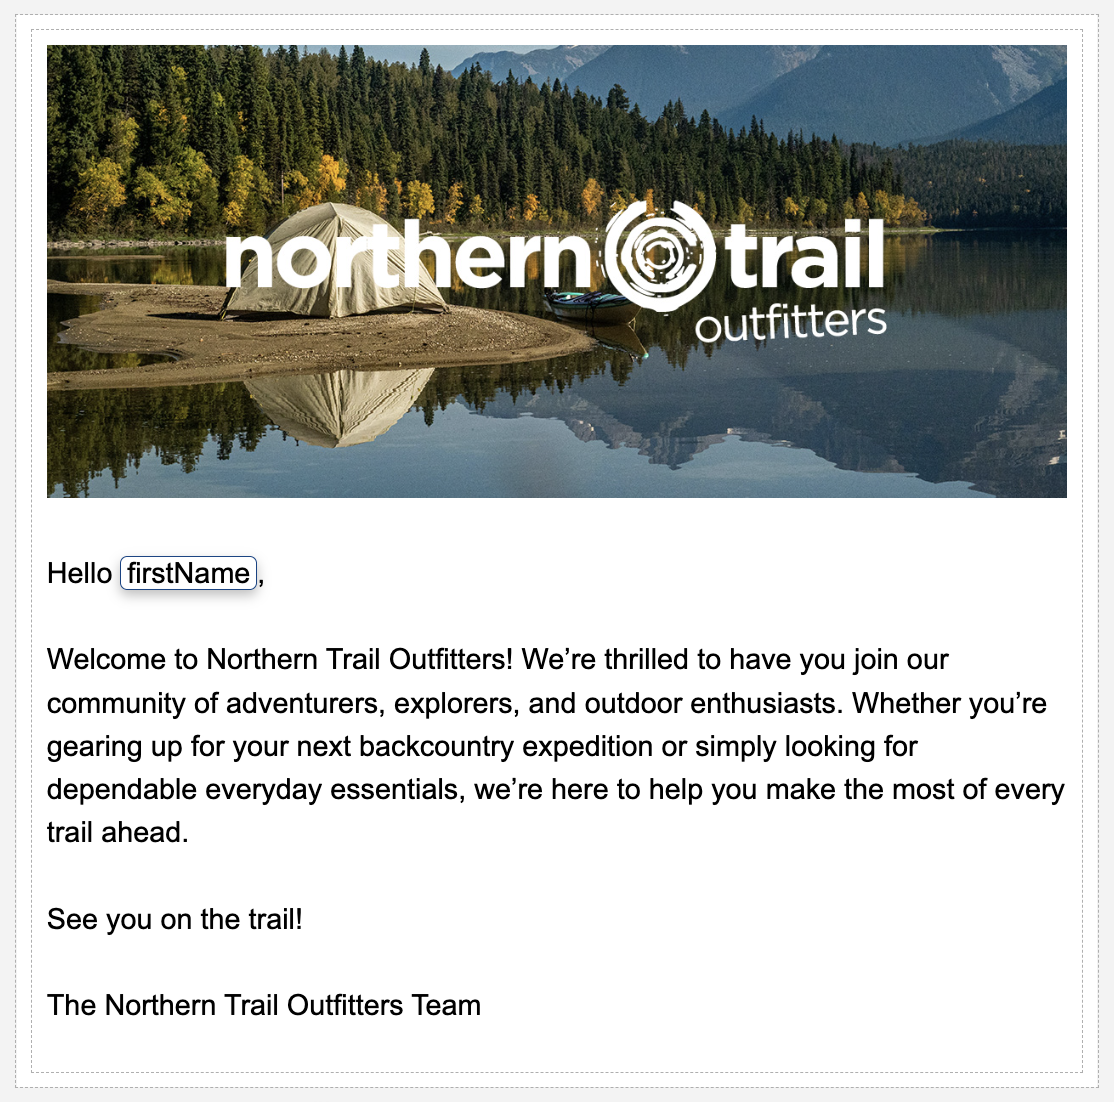
Hello,

Welcome to Northern Trail Outfitters! We’re thrilled to have you join our community of adventurers, explorers, and outdoor enthusiasts. Whether you’re gearing up for your next backcountry expedition or simply looking for dependable everyday essentials, we’re here to help you make the most of every trail ahead.

See you on the trail!

The Northern Trail Outfitters Team- Click the Data Sources tab in the Email panel.
- Click Add.
- Select Apex Class Data Provider from the Type menu.
- Enter
contactValuesin the Name field. - Search and select
contactValuesin the Apex Class field.
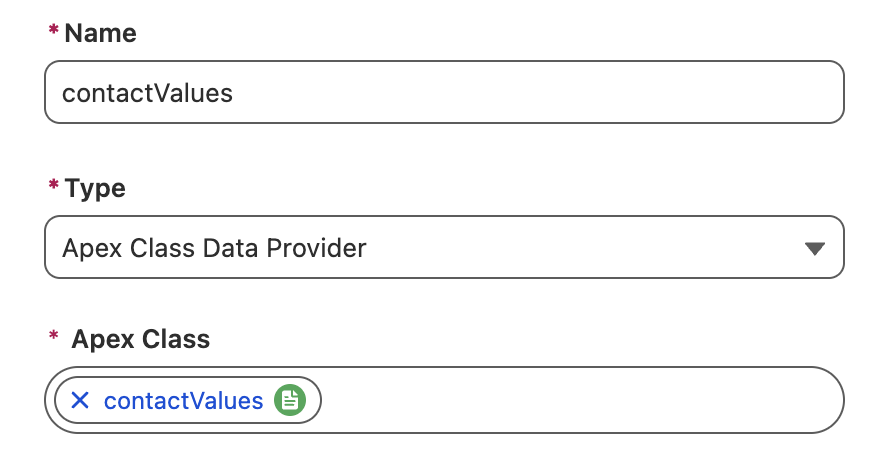
- Click Save.
- Insert your cursor in the paragraph component after the word 'Hello' and add a space character.
- Click on the merge field icon
then scroll down and select Apex Class Data Provider. - In the Resource field, select Primary Objects, then firstName.
- Click Done in the Configure Merge Fields dialog.
- Optionally, edit the email content—for example, add a banner image.
- Click the gear icon
in the top toolbar and enter Welcome Emailin the Title field. - Click Done.
- Click Save.
- Click Publish.
- Click Next and Publish Now in the Publish Content dialog.
- Click the back arrow
in the top left corner of the page to return to the Content page.
Create an On-Demand Flow
In this exercise, you will create an on-demand flow to send the transactional email you created previously.
- Click the Flows tab.
- Click New.
- Enter
on-demandtheSearch automations... field. - Select the On-Demand Flow tile.
- Click Next in the Configure automation properties dialog.
Create Apex-Defined Variable
In this exercise, you’ll create an Apex variable and associate it with the Apex class you created in the Create Apex Class exercise. This variable will be used to personalize your email.
- In the top navigation bar, click the Toolbox icon (the first icon on the left).
- Click New Resource.
- Select Variable from the Resource Type menu.
- Enter
contactValuesin the API Name field. - Select Apex-Defined from the Data Type menu.
- Search and select
contactValuesfrom the Apex Class menu. - In the Availability Outside the Flow options, select the Available for input checkbox.
- Click Done.

Add Email Element
- Click the
icon on the flow canvas. - Select the Send Email Message element.
- Enter
Welcome Emailin the Label field. - Click Select Email in the Select Email to Send section.
- Select the email you created in the previous exercise, then click Add.
- Choose an email sender in the From Name and Address field of the Select Sender section.
Configure and Save Flow
New Individual Records and Data Graphs
When sending an email from an on-demand flow using an API request, if the Individual record does not exist in the Data Graph used by the flow (for example, when triggering a send to a new Individual record), then you should remove the default Data Graph from the flow.
If a Data Graph is defined by the flow and the Individual does not exist within it, the email will fail to send. When no Data Graph is defined in the flow, the contact point value provided in the API request (EmailAddress) will be used for contact point selection at send time.
- Click Save.
- Enter
Send Welcome Emailin the Flow label field. - Enter
Welcome_Emailin the Flow API Name field. - Remove the existing Data Graph from the Data Graph field.
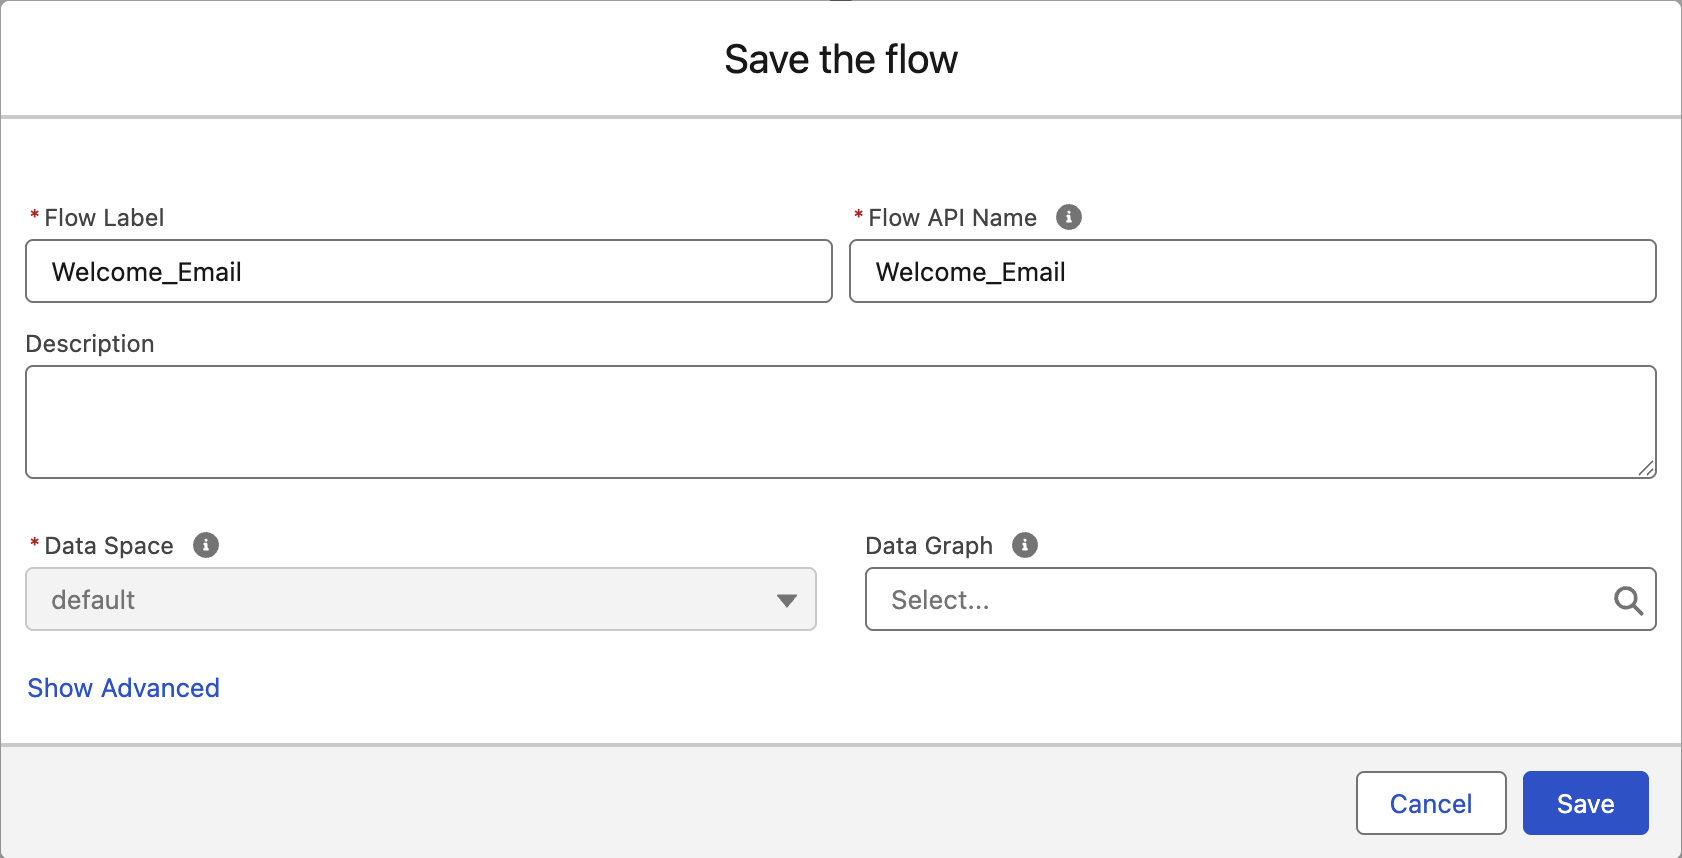
- Click Save.
- Click Activate.
- Click the back arrow
in the top left corner of the page to return to the Flows page.
Trigger Flow Using REST API
In this exercise, you will use Salesforce Workbench to simulate an authenticated REST API request that triggers the on-demand flow and sends the transactional email.
Update Profile-Level Flow Access
Even with a System Administrator profile, specific Flow-level restrictions or missing user permissions can prevent successful execution via Workbench. To resolve these blocks and enable API-based Flow calls, follow the configuration steps below.
- Click on the icon and click the first Setup menu item.
- In the Quick Find field, enter
Flowsand select Flows from the Process Automation menu. - Locate the flow definition with the API name
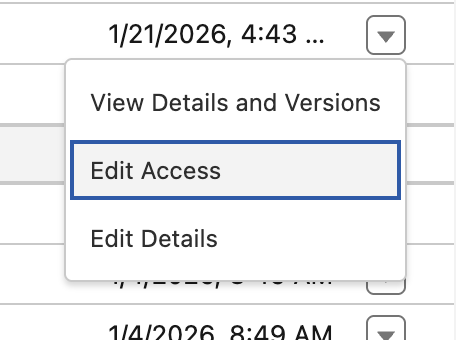
Welcome_Email. - Click the down arrow
next to the flow and select Edit Access.
- Locate
System Administratorfrom the Available Profiles menu - Click the Add
button. - Click Save.
Call REST API From Workbench
- Open workbench.developerforce.com in a new browser window.
- Select I agree to the terms of service then click Login with Salesforce.
- Click Allow if prompted for Workbench to allow access for your user.
- Select REST Explorer from the utilities menu.
- Change the HTTP method to POST.
- Replace the path URL with the below string, where
Welcome_Emailis the flow API name you set in the previous exercise.
/services/data/v65.0/actions/custom/flow/Welcome_Email- Paste the following text in the request body, replacing
[insert your email]with your email address.
{
  "inputs":[
    {
      "EmailAddress":"[insert your email]",
      "IndividualId":"[insert your email]",
      "contactValues":{
        "firstName":"Simon"
      }
    }
  ]
}
IndividualId Value
The Individual ID is a persistent, unique identifier used to map a record from a source system (such as a CRM ID or a customer number).
In many transactional use cases, individual records won't yet exist in the Individual DMO, which is why an email address contact point value is also needed in the payload to deliver the message to the recipient.
For this exercise, you can use your email address as IndividualId, or any other value, except null.
- Click Execute.
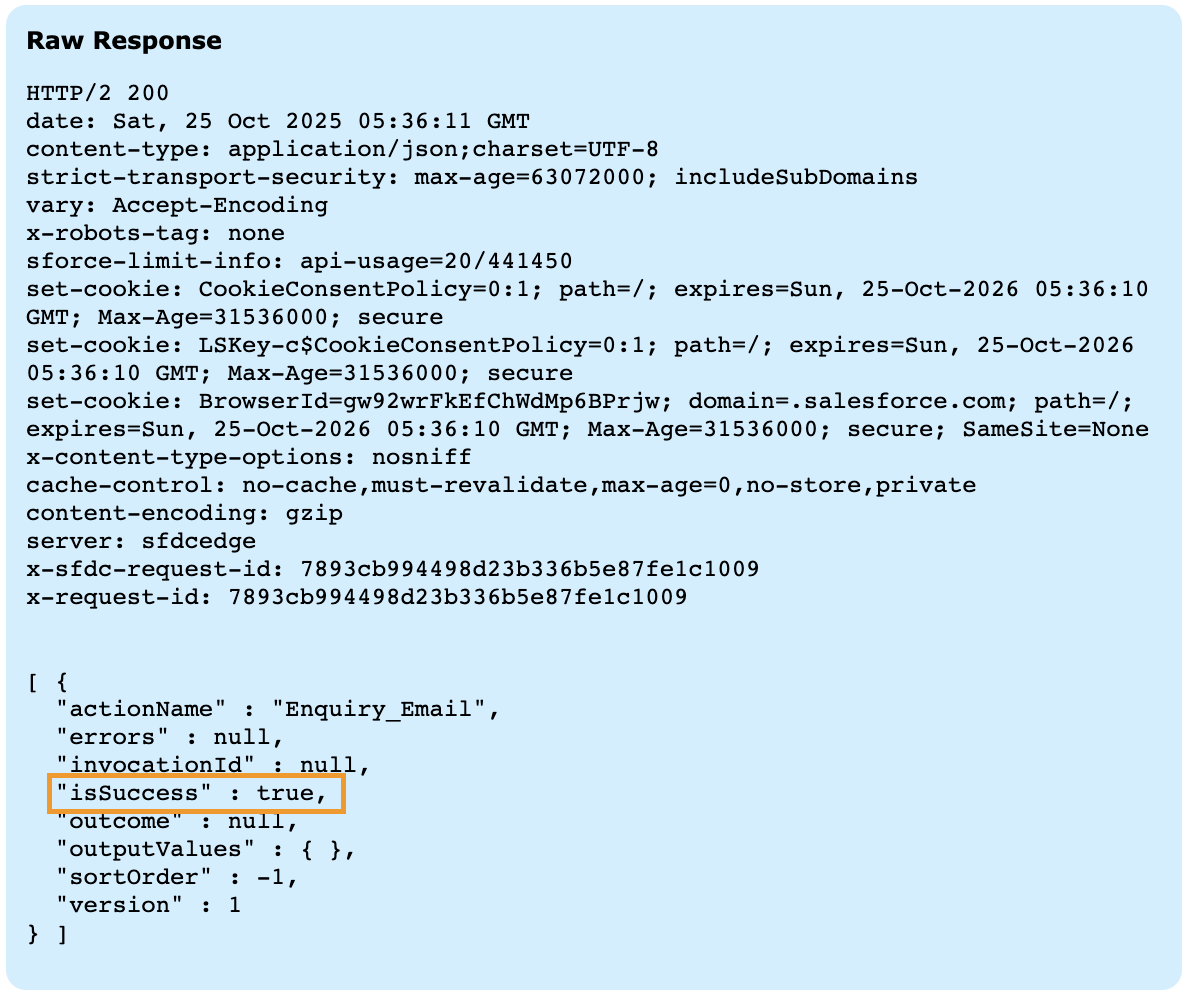
- Click Show Raw Response.
- Confirm that
"isSuccess" : trueappears in the response payload. - Check that you received the personalized email.