Campaign Creation
Agentforce Marketing includes different options for creating campaigns. In this workshop, you will create a campaign using Agentforce which includes a Quick Start option that comes with a pre-configured flow.
Create a Brief and Campaign
In this exercise, you will use Agentforce to draft a campaign brief and create a multi-channel campaign.
- Click Home tab from the Marketing app.
- Click
Draft with AI in the Recently Activated Campaign Flows card. - Copy the text below.
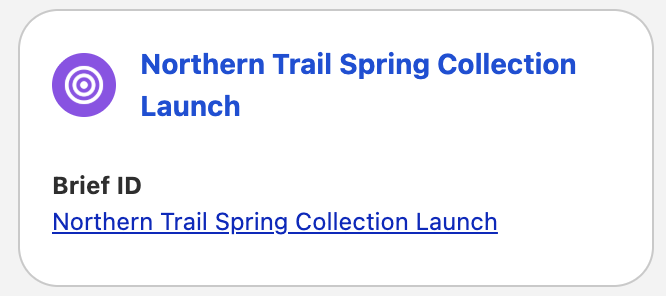
Promote Northern Trail Outfitters’ Spring Arrivals Collection to re-engage existing customers, attract new outdoor enthusiasts, and drive online sales by showcasing performance-driven, sustainable apparel and gear that capture the energy and color of the spring season.- Paste the text from your clipboard in the Campaign Objective field, then Click Submit.

- Click Confirm when prompted to proceed with saving the brief.
- Click Confirm when prompted to proceed with creating a draft campaign.
- Click Confirm when prompted to proceed with saving the campaign.
- Click the campaign title heading in the campaign tile (with the
icon) within the agent to open the campaign.
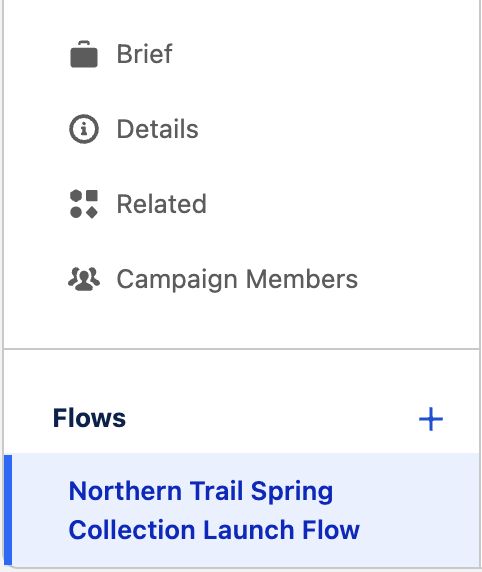
- Click the
icon in the top corner of the agent panel to close the agent, if the agent panel remains open. - The campaign flow summary page should be displayed. If the brief appears instead, select the flow name below the Flows section in the navigation menu.
Customize Brief Generation
The default brief creation process in Agentforce can be fully customized by modifying the underlying Generate Brief flow (accessible from the Flows section in Setup) to reflect your organization’s business rules, add approval steps, or integrate with other systems.
Create a Segment
There are several options for creating segments, either using Quick Filters, Campaign Members, using Segment Builder, or Einstein Segment Creation. In this exercise, you will use Quick Filters then further customise your segment in Segment Builder.
- Click Select Segment in the Start Trigger section.
- Select the Use Quick Filters tile.
- Select Contacts and Leads
- Select OR as the Filtering Logic.
- Click Create.
- Click Edit from the Start Trigger section.
- Expand Unified Individual attributes from the Direct Attributes menu.
- Drag the Birth Date attribute to the 'Add another Attribute here' section on the segment canvas.
- Set the Operator to Is Before and enter a date time 25 years ago from today (as will to target 25 years or older) by clicking on the calendar icon
in the DateTime field and selecting a year 25 years ago (for example, if today's year is 2025, then select 2000). - Select today's day.
- Click Done.
- Move your cursor over the grouping area between the Account Contact and Lead until a blue bar appears.
- Click highlighted bar and change the operator to OR.
- Change the outer operator to AND.

- Click Save to restart the segment count.
- Return to the campaign by selecting the Campaigns tab, then select your campaign to view the campaign flow.
Editing Your Email
Edit Email Content
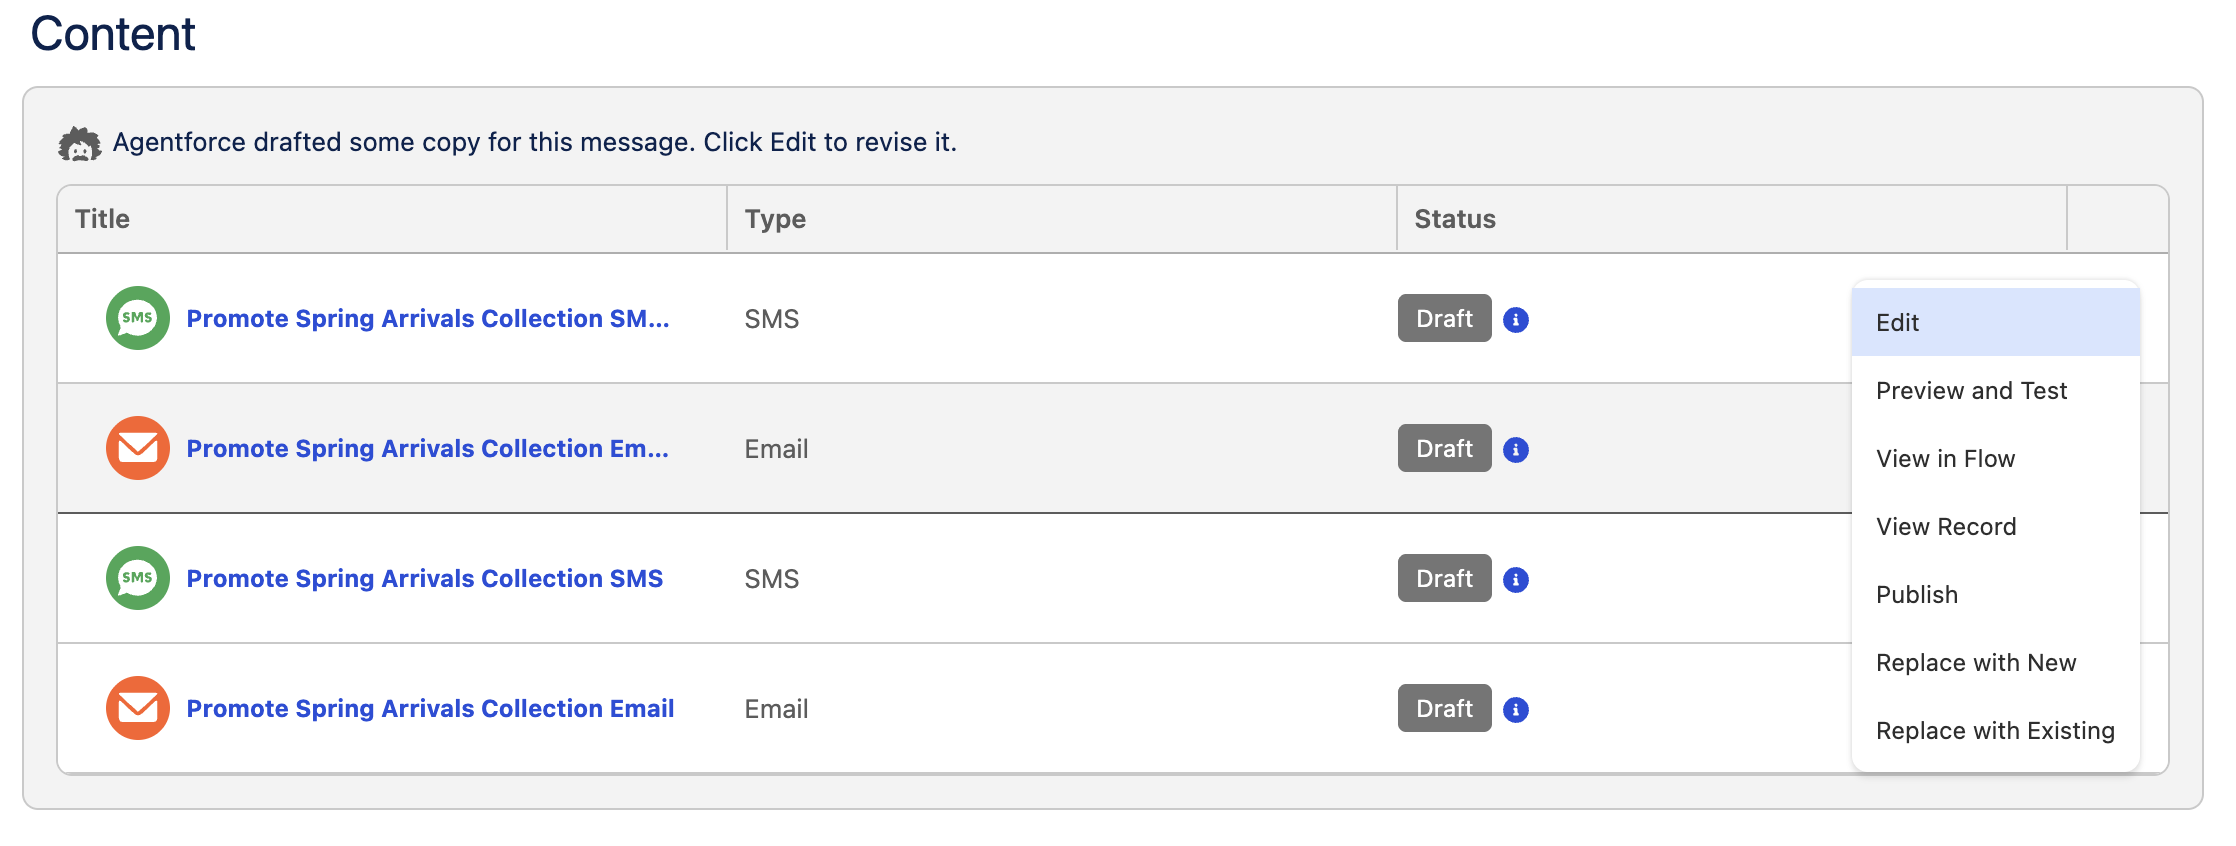
- Locate the first campaign email from the Content section in the campaign flow.
- Click on the
row menu icon and click Edit to launch the email editor.
- Note that Agentforce has already populated the email subject line, preheader, and copy based on the supplied brief. We will use Agentforce to edit the email.
- Click on the paragraph content in the email.
- Click on the Draft with Agentforce
icon. - Select an option from the Agentforce dialog, for example 'Refine with Casual Tone'.
Add Image Component
- Click on the image, then click the trash can icon
to remove the default header from the email template. - Expand the Media section in the Components menu and drag the image component above the text.
- Click Add Image, then in the Select Image dialog, Click New.
- Right-click this link and save the image to your local computer.
- In the Add Image dialog, enter
NTO Header Image - Hikingin the Title field. - Enter
Northern Trail Outfittersin the Alt Text field. - Click
Upload - Extract the compressed file you downloaded previously.
- Select the nto-header1.jpg image from the uncompressed folder and click Done.
- Click Save.
- In the Link URL field, enter the URL
https://www.northerntrailoutfitters.com/en_US/gear. - Click Save.
- Click the back arrow
in the top left corner of the page to return to the Campaign page.
Create Communication Subscription
Before you configure campaigns, you will need to create a communication subscription for each category of marketing content that you send, such as 'Announcements'. For each subscription that you create, add marketing channels, such as email and SMS. Subscribers must give consent to receive promotional messages from each channel type.
- Click on the Consent tab in the Marketing app.
- Select Preference Pages and Subscriptions, then click
New Subscription. - In the Subscription Name field, enter
Product Announcements. - For the Channels menu, select Email.
- Click Save.
- In the Email Preference Page card, click Edit Form.
- Click Product Announcements.
- Click
to add the subscription to the Email Preference Page Subscriptions list and click Save. - Click Update.
Configure Message Settings
In this exercise, you will set the Communication Subscription for the email you created earlier.
- Click the Campaigns tab from the Marketing app.
- Click on the campaign you created in the first exercise.
- Click Open Flow in the top right corner of the campaign flow page.
- Click on the first email element in the flow.
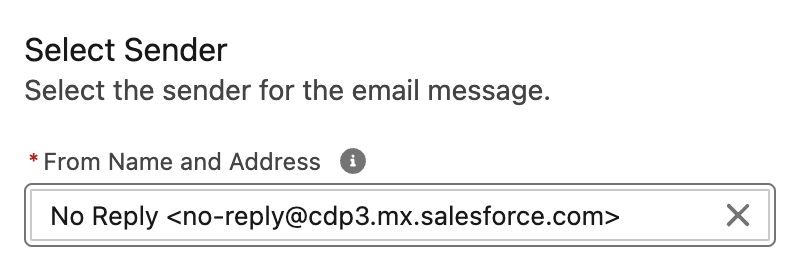
- Select a sender from the From Name and Address menu.
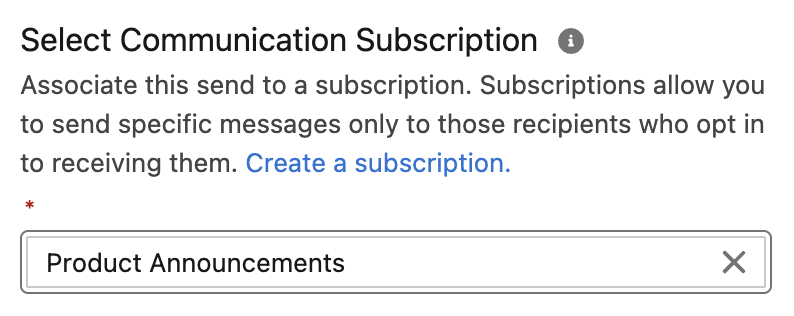
- Select Product Announcements from the Communication Subscription menu.
- Click Save.
- Click the back arrow
in the top left corner of the page to return to the Campaign page. - Locate the first campaign email from the Content section in the campaign flow.
- Click on the
row menu icon and click Edit to launch the email editor. - Click Publish, then click Next and Publish Now.