Personalization Experiences
Introduction
Personalization experiences let you control what content appears on your website and when it appears, helping ensure visitors see relevant information in the right location at the right time. Each experience is built on a personalization point that determines where the content is displayed. You can create multiple experiences and apply them to different pages as needed. When setting up an experience, you can choose a template or customize page elements directly to deliver the desired personalization.
In the previous workshop, you created personalization points and retrieved product recommendations from the Decisioning API. In this workshop, you will add the manual content personalization point to the website homepage, and then add the recommendations personalization point to a product detail page. This will allow you to see how personalization points are implemented in practice and how they surface personalized content in a website.
Before starting the hands-on exercises in this workshop, watch the video below to learn how to enable Web Personalization Manager and configure personalization experiences on your website.
Enter the password LearnSPtoday to play the video.
Inject SDK
In this first exercise, you will use Sitemap Builder to inject the SDK from the website connector you created previously.
- Open the demo website
- Open the Sitemap Builder Chrome extension.
- Click the
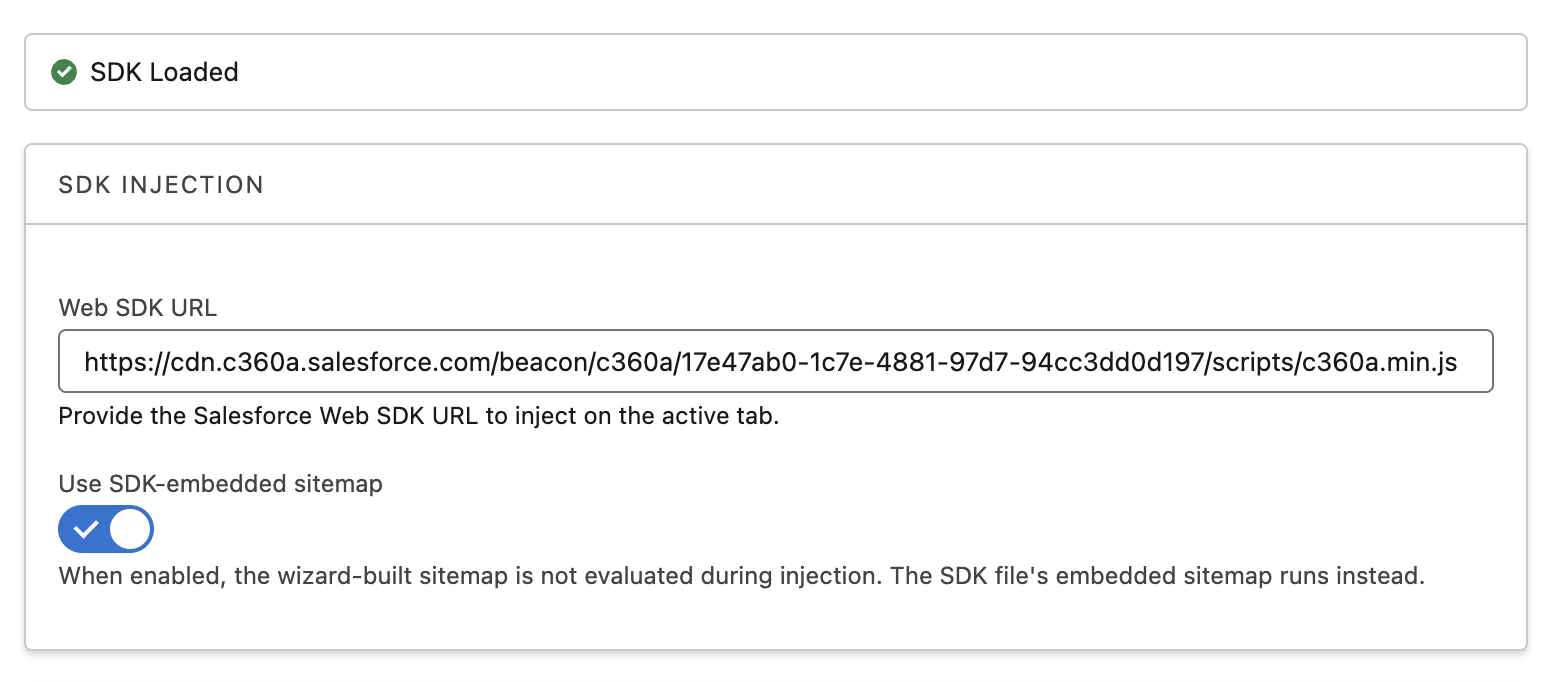
Inject tab. - Ensure that the Web SDK URL field includes the script URL for your website connector.
Retrieve Web SDK URL
If the Web SDK URL field is empty in Sitemap Builder, then:
- Click the icon from the top setup menu and select Data Cloud Setup.
- In the quick find field, enter
Websitesand select Websites & Mobile Apps from the navigation menu. - Click the Training Site connection you created in the Sitemap workshop.
- Scroll to the bottom of the page and copy the Script URL, then paste the URL into the Web SDK URL field.
- Enable the Use SDK-embedded sitemap option.
SDK-Embedded Sitemap
When enabled, the SDK-Embedded Sitemap option instructs the injected SDK to use the sitemap and schema file stored in your org. For this exercise, it will reference the file that you uploaded to the website connector in the Web Schemas workshop.
- Click Inject.
Configure a Homepage Hero Experience
With the SDK now running locally, you can now configure a personalization experience using Web Personalization Manager.
- Append the parameter
?sf_personalization_wpmto the demo website URL. - When prompted, click Log in, then sign in using your SDO user credentials.
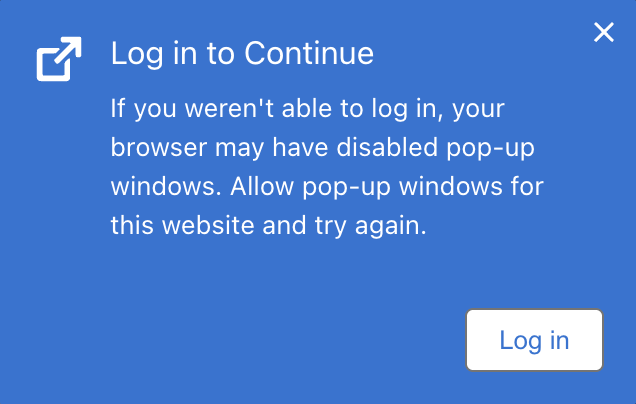
- Click Allow the Allow Access window if prompted.
- Confirm that the Web Personalization Manager toolbar appears at the top of your browser window.

- Click Personalization Experiences from the Web Personalization Manager toolbar, then click
Add New. - Select Configure Embedded Content tile in the Configure Personalization Experience dialog, then click Next.
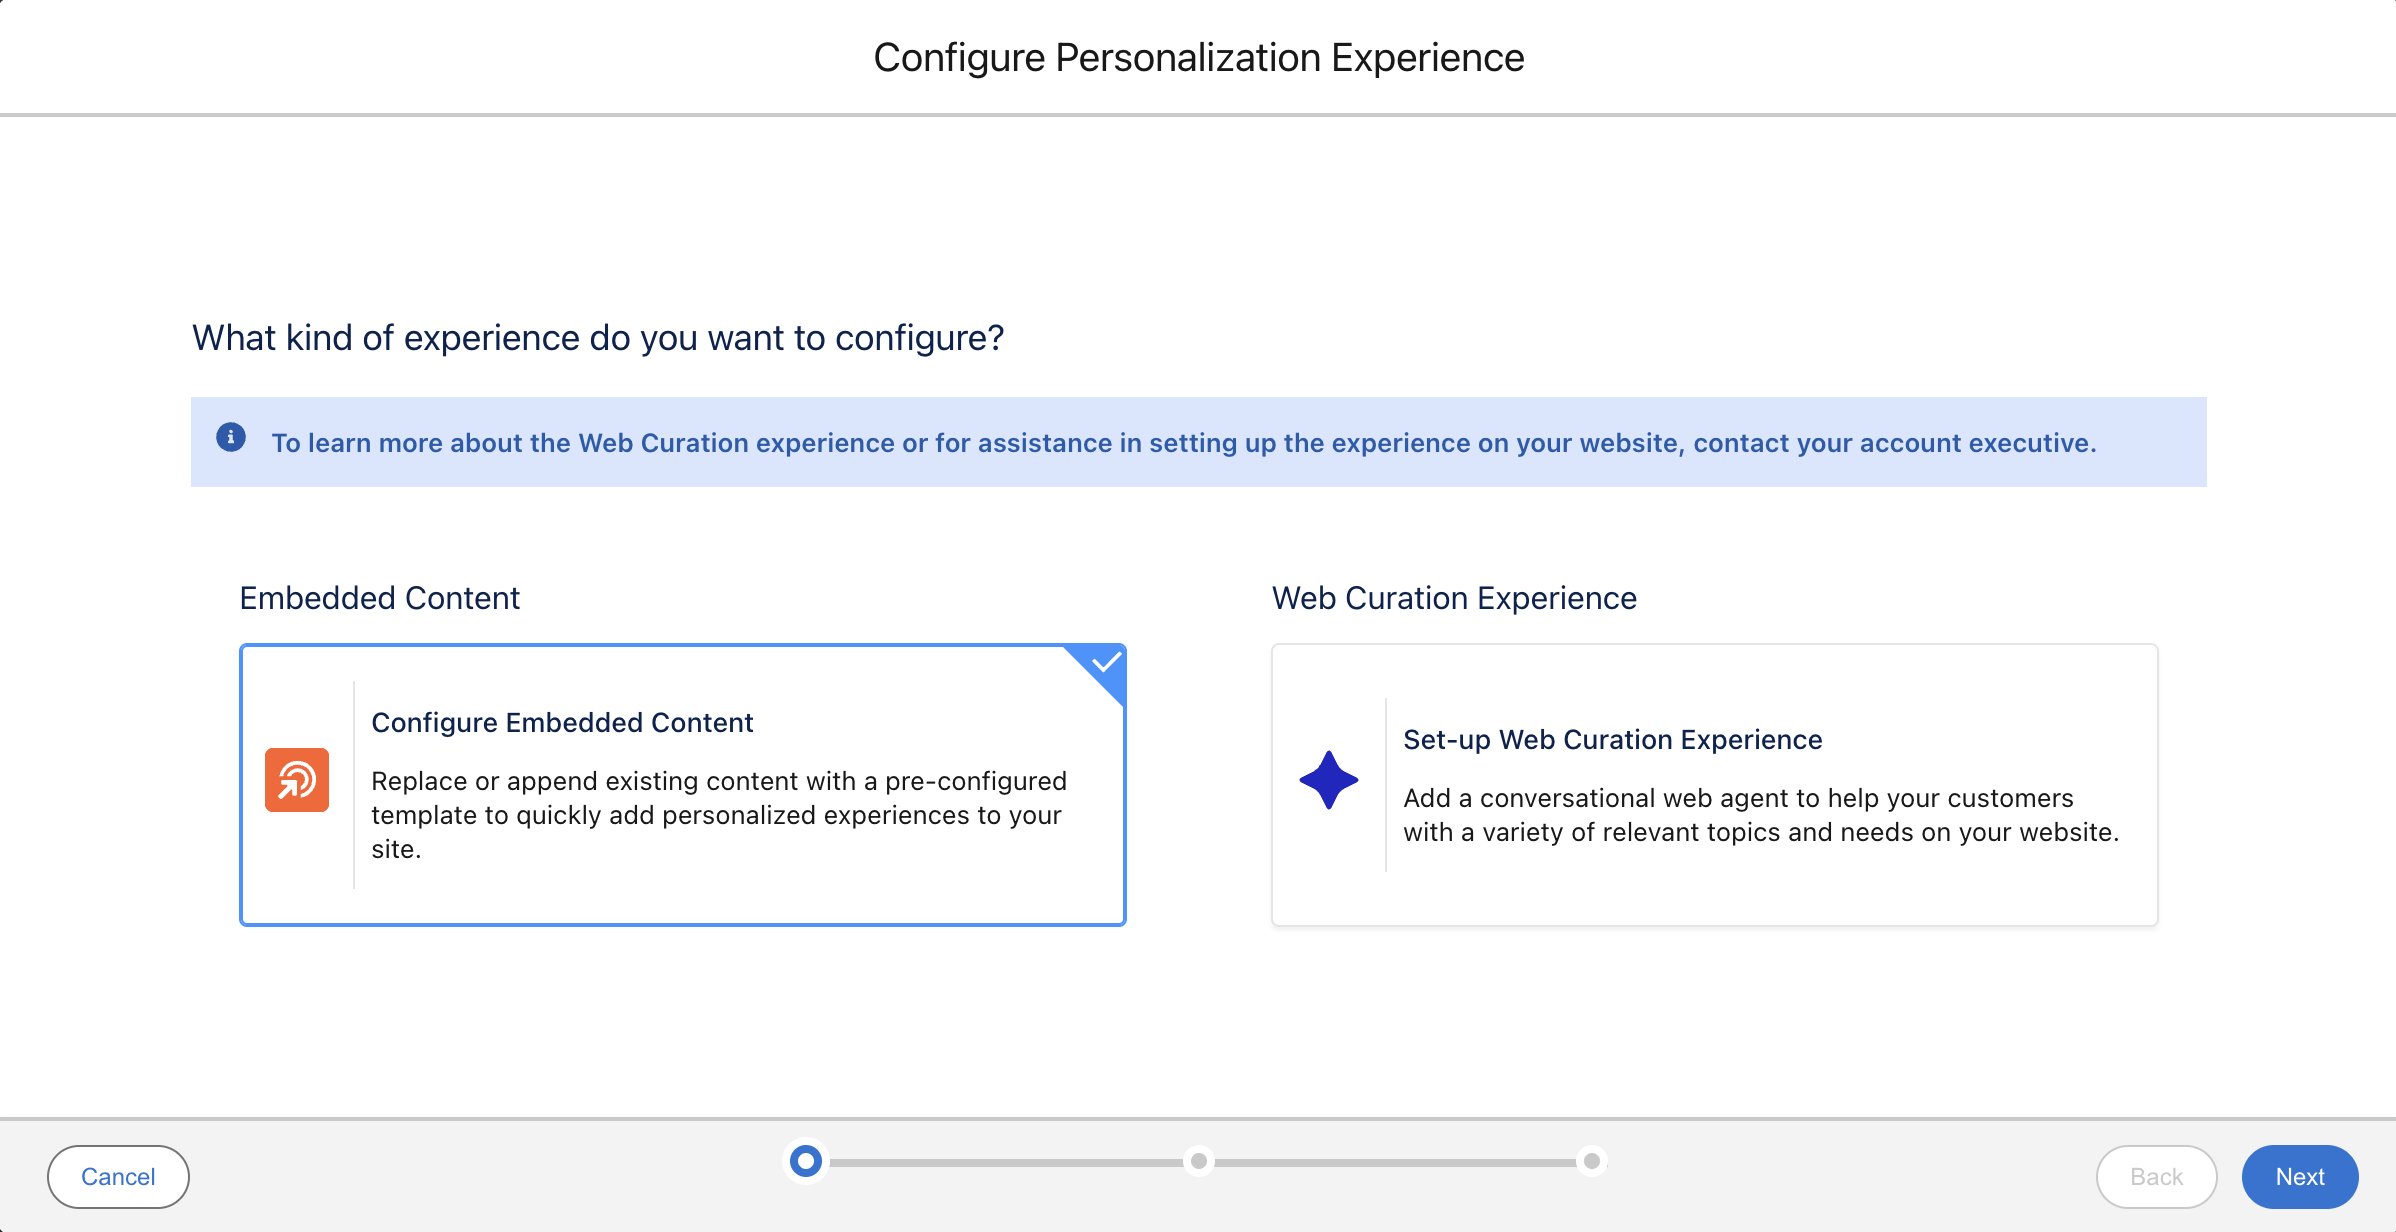
Web Curation Experience
The web curation experience option makes it easy to apply AI-powered agents directly to your website. When website visitors interact with the agent, Einstein Prompt Templates and Retrievers query Data 360 to generate structured responses. These responses can include both conversational answers and curated product information from your catalog, enabling personalized, context-aware experiences tailored to each visitor.
- Select the Homepage Banner personalization point, then click Next.
Personalization Points
The available personalization points use a real-time profile data graph and are created in the same data space as your sitemap.
- Select the SimpleHero template tile, then and click Next.
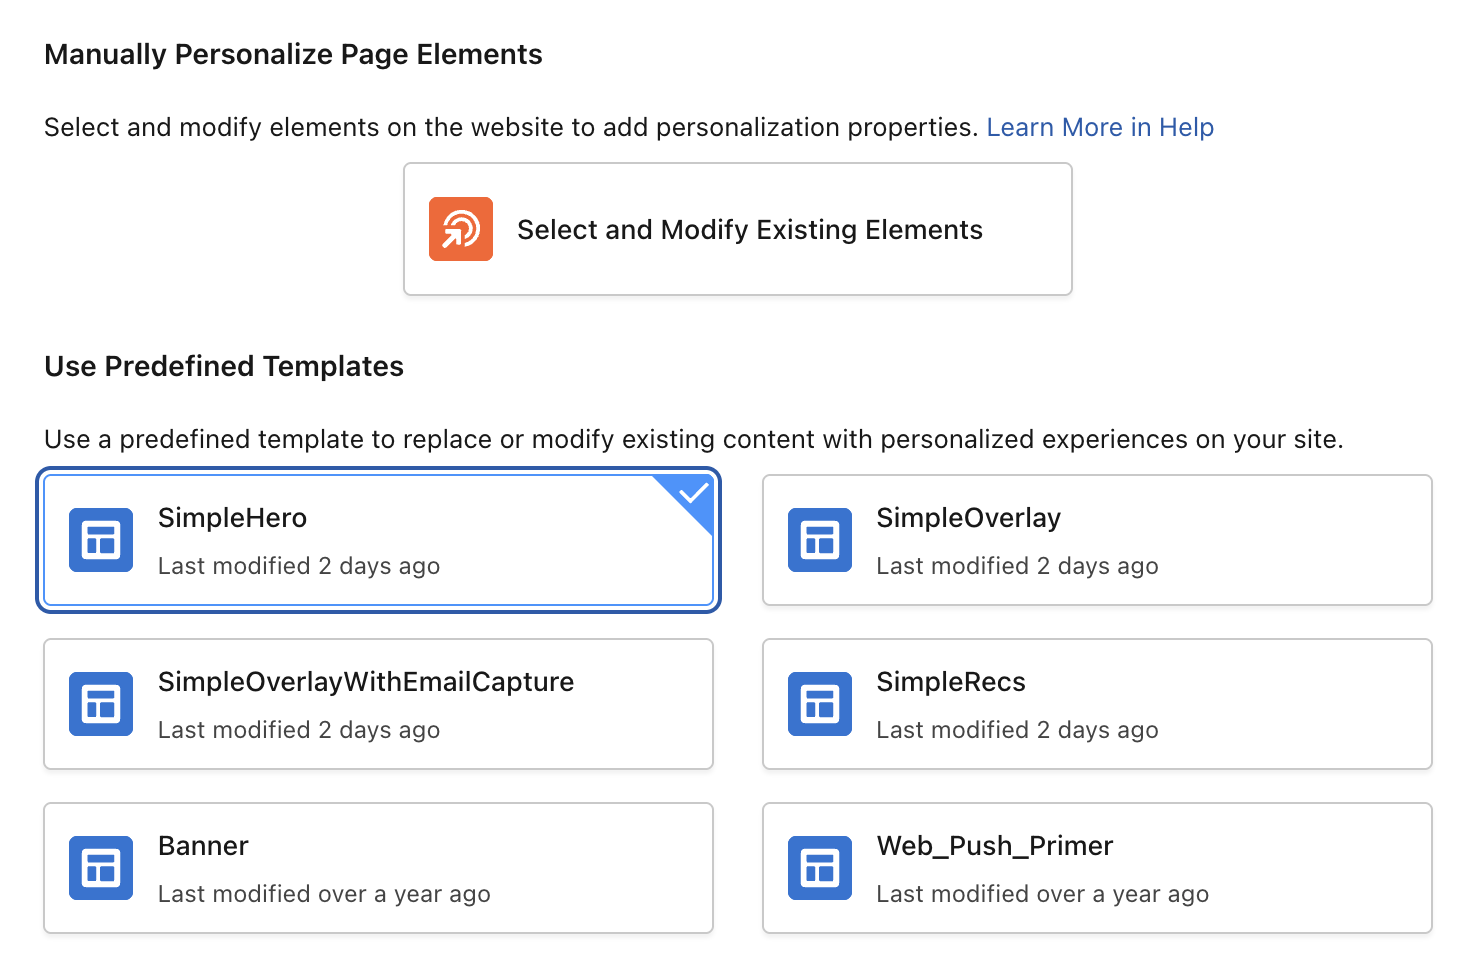
Personalization Experience Templates
Predefined templates are configured in the sitemap and provide a structured way to create personalization experiences. In an upcoming release, a dedicated template creation feature will enable templates to be created and managed directly without relying on sitemap configuration.
The Select & Modify Existing Page Elements option allows you to personalize your site even when a template is not available. It works by allowing you to select elements directly on the page and replace them with values returned from a personalization decision. This approach is ideal for quick, lightweight personalization use cases—such as updating banner copy, call-to-action text, or destination URLs—without requiring developer involvement.
- A Homepage Banner panel will appear on your web page. You will use this to define where the banner will be displayed on the page. Leave the Method to Display on Page option set to Replace an Element, then click Select Element.
- Select the existing homepage banner with the element class name DIV.slide-overlay.
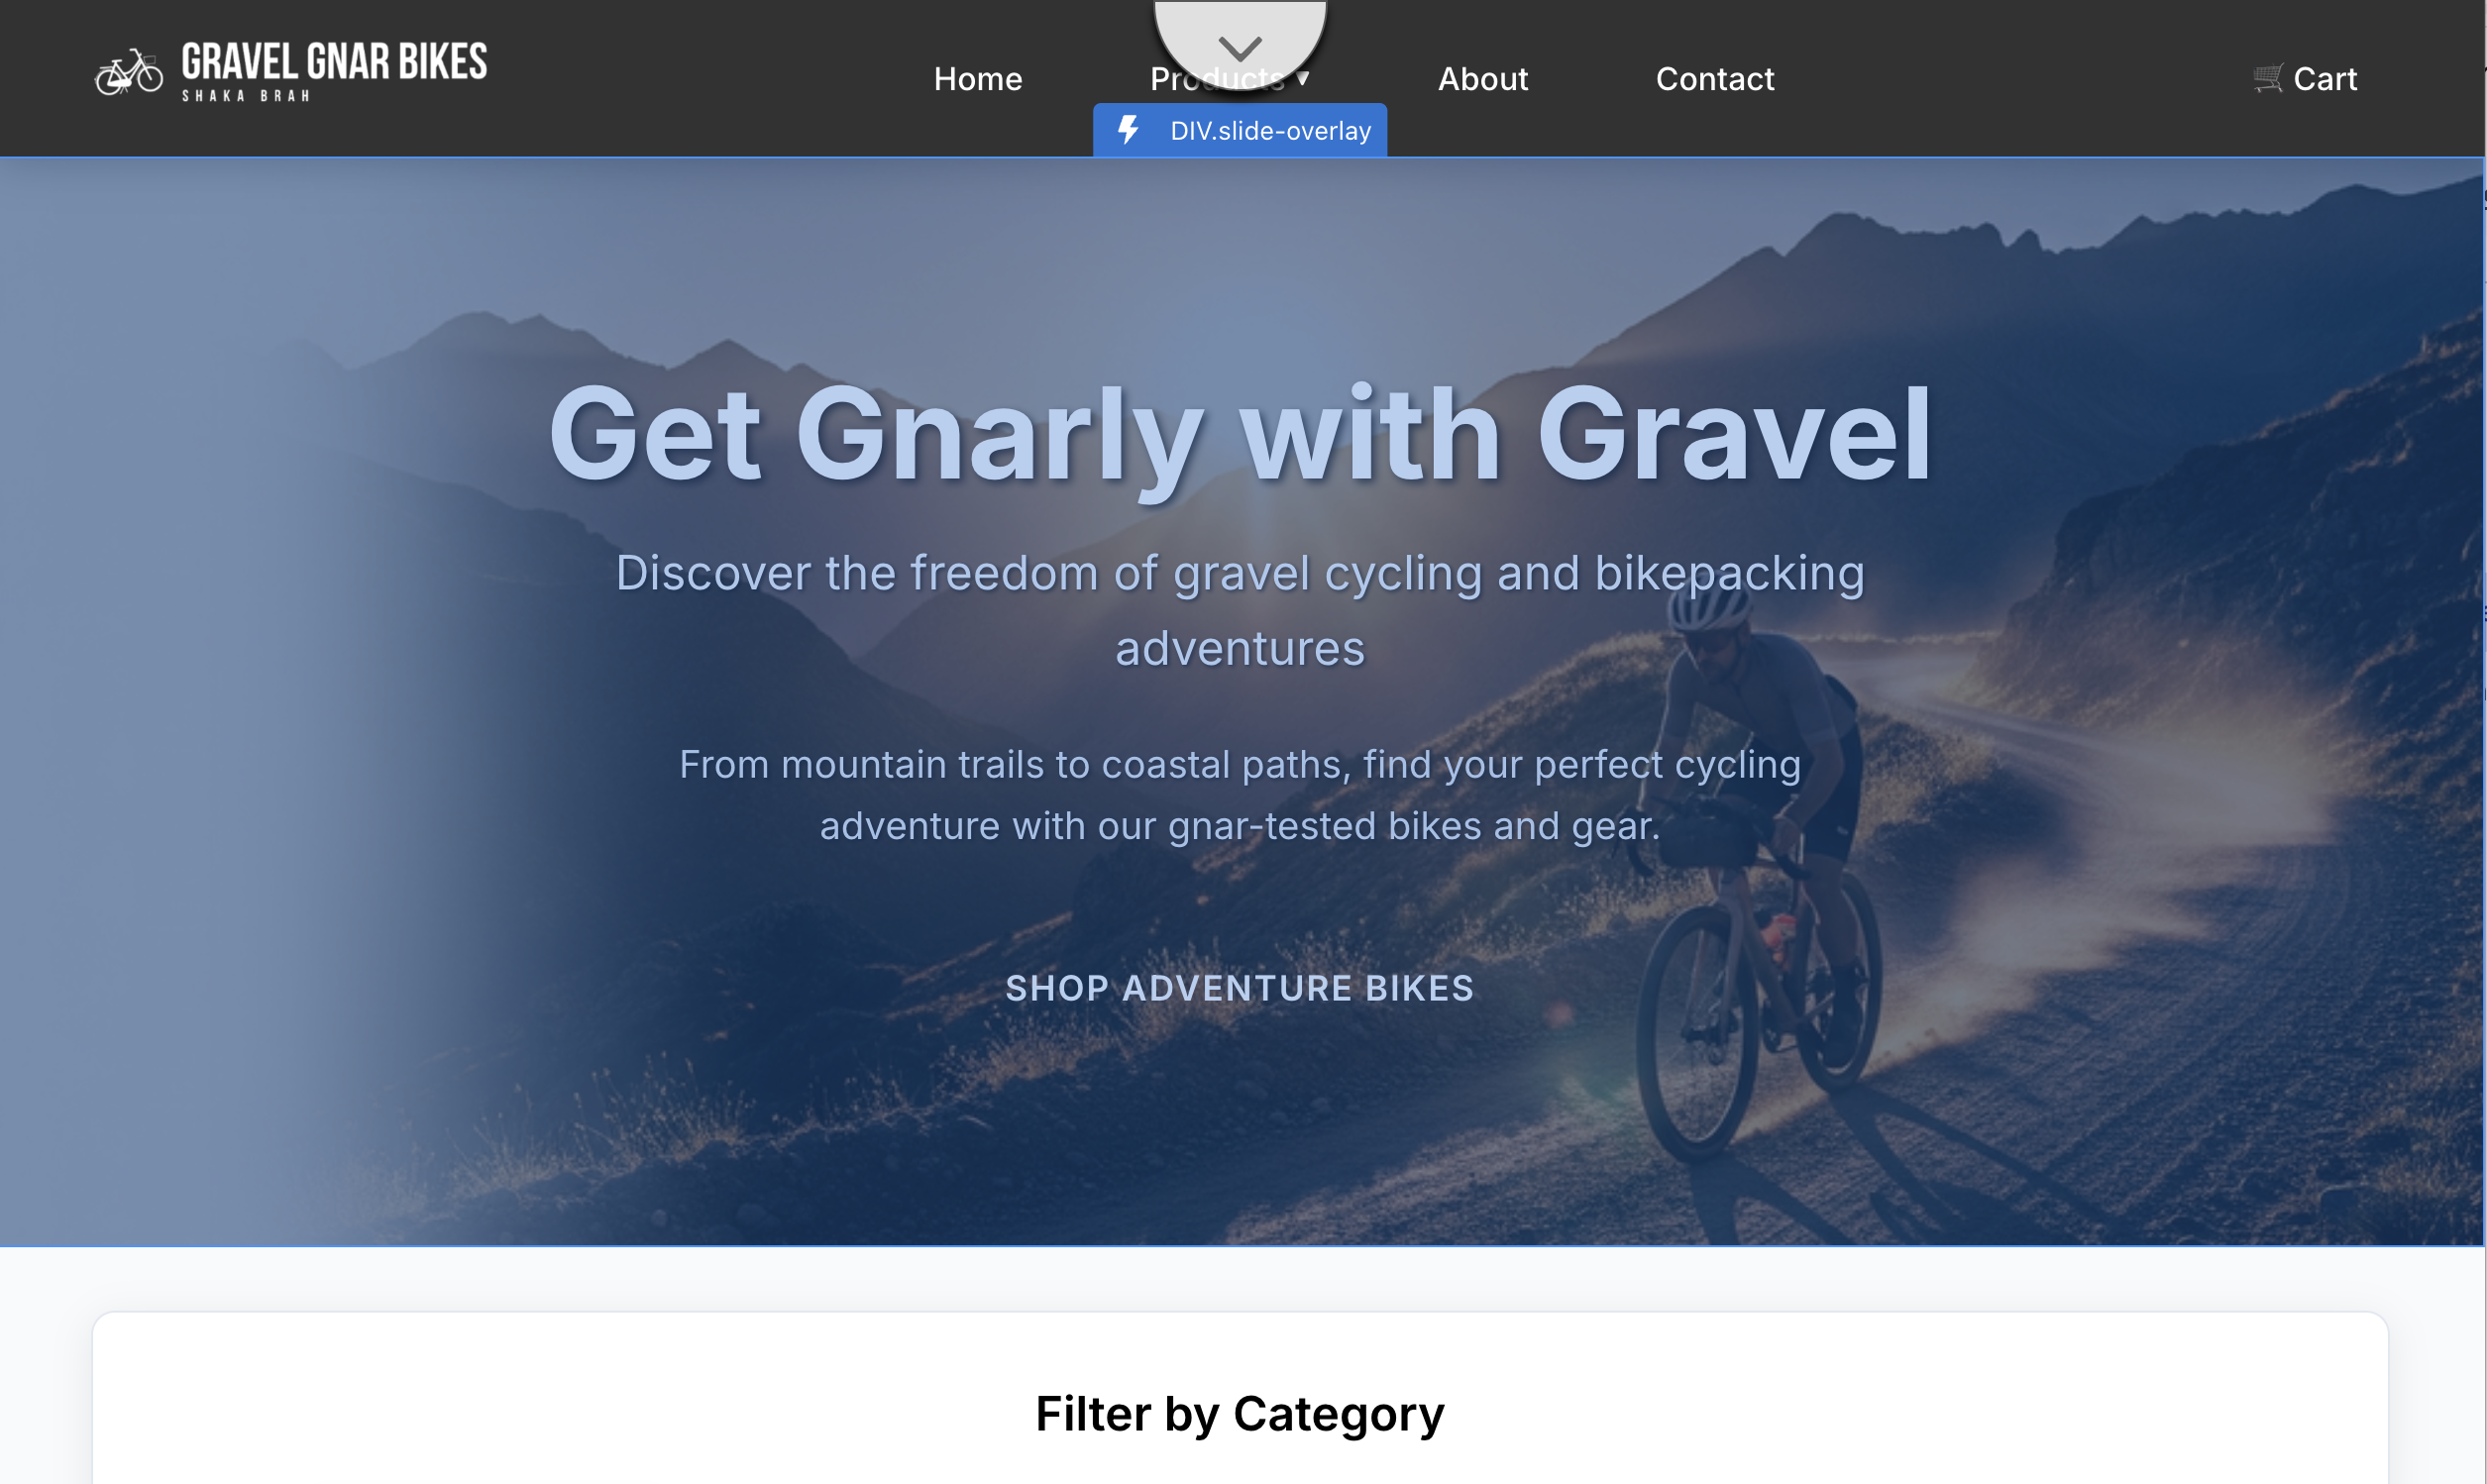
- Click Select Parent twice in the Homepage Banner panel, so the Page Element field changes to DIV.carousel-container. This ensures the entire carousel container is replaced by the personalization decision, rather than only a nested element.
Add an Overlay
If you choose Add an Overlay as the display method, additional trigger options are available to control when the content appears. For example, you can display the overlay based on exit intent, an element click, or a specific scroll percentage.
- Select the Content tab in the Homepage Banner panel.
- Select Website Engagement from the Engagement Destination menu.
Engagement Destinations
An Engagement Destination is a configuration that determines how user interaction events are processed, categorized, and sent to Data Cloud for analysis. When you configure a personalization experience in the Web Personalization Manager, you can choose a standard, out-of-the-box (OOTB) destination or create a custom one to fit your needs. Refer to Salesforce Help for further details.
- Click the Preview Settings tab in Homepage Banner panel.
- Select a decision from the Web Personalization Manager toolbar, then click Preview to see how the decision will appear on the page.
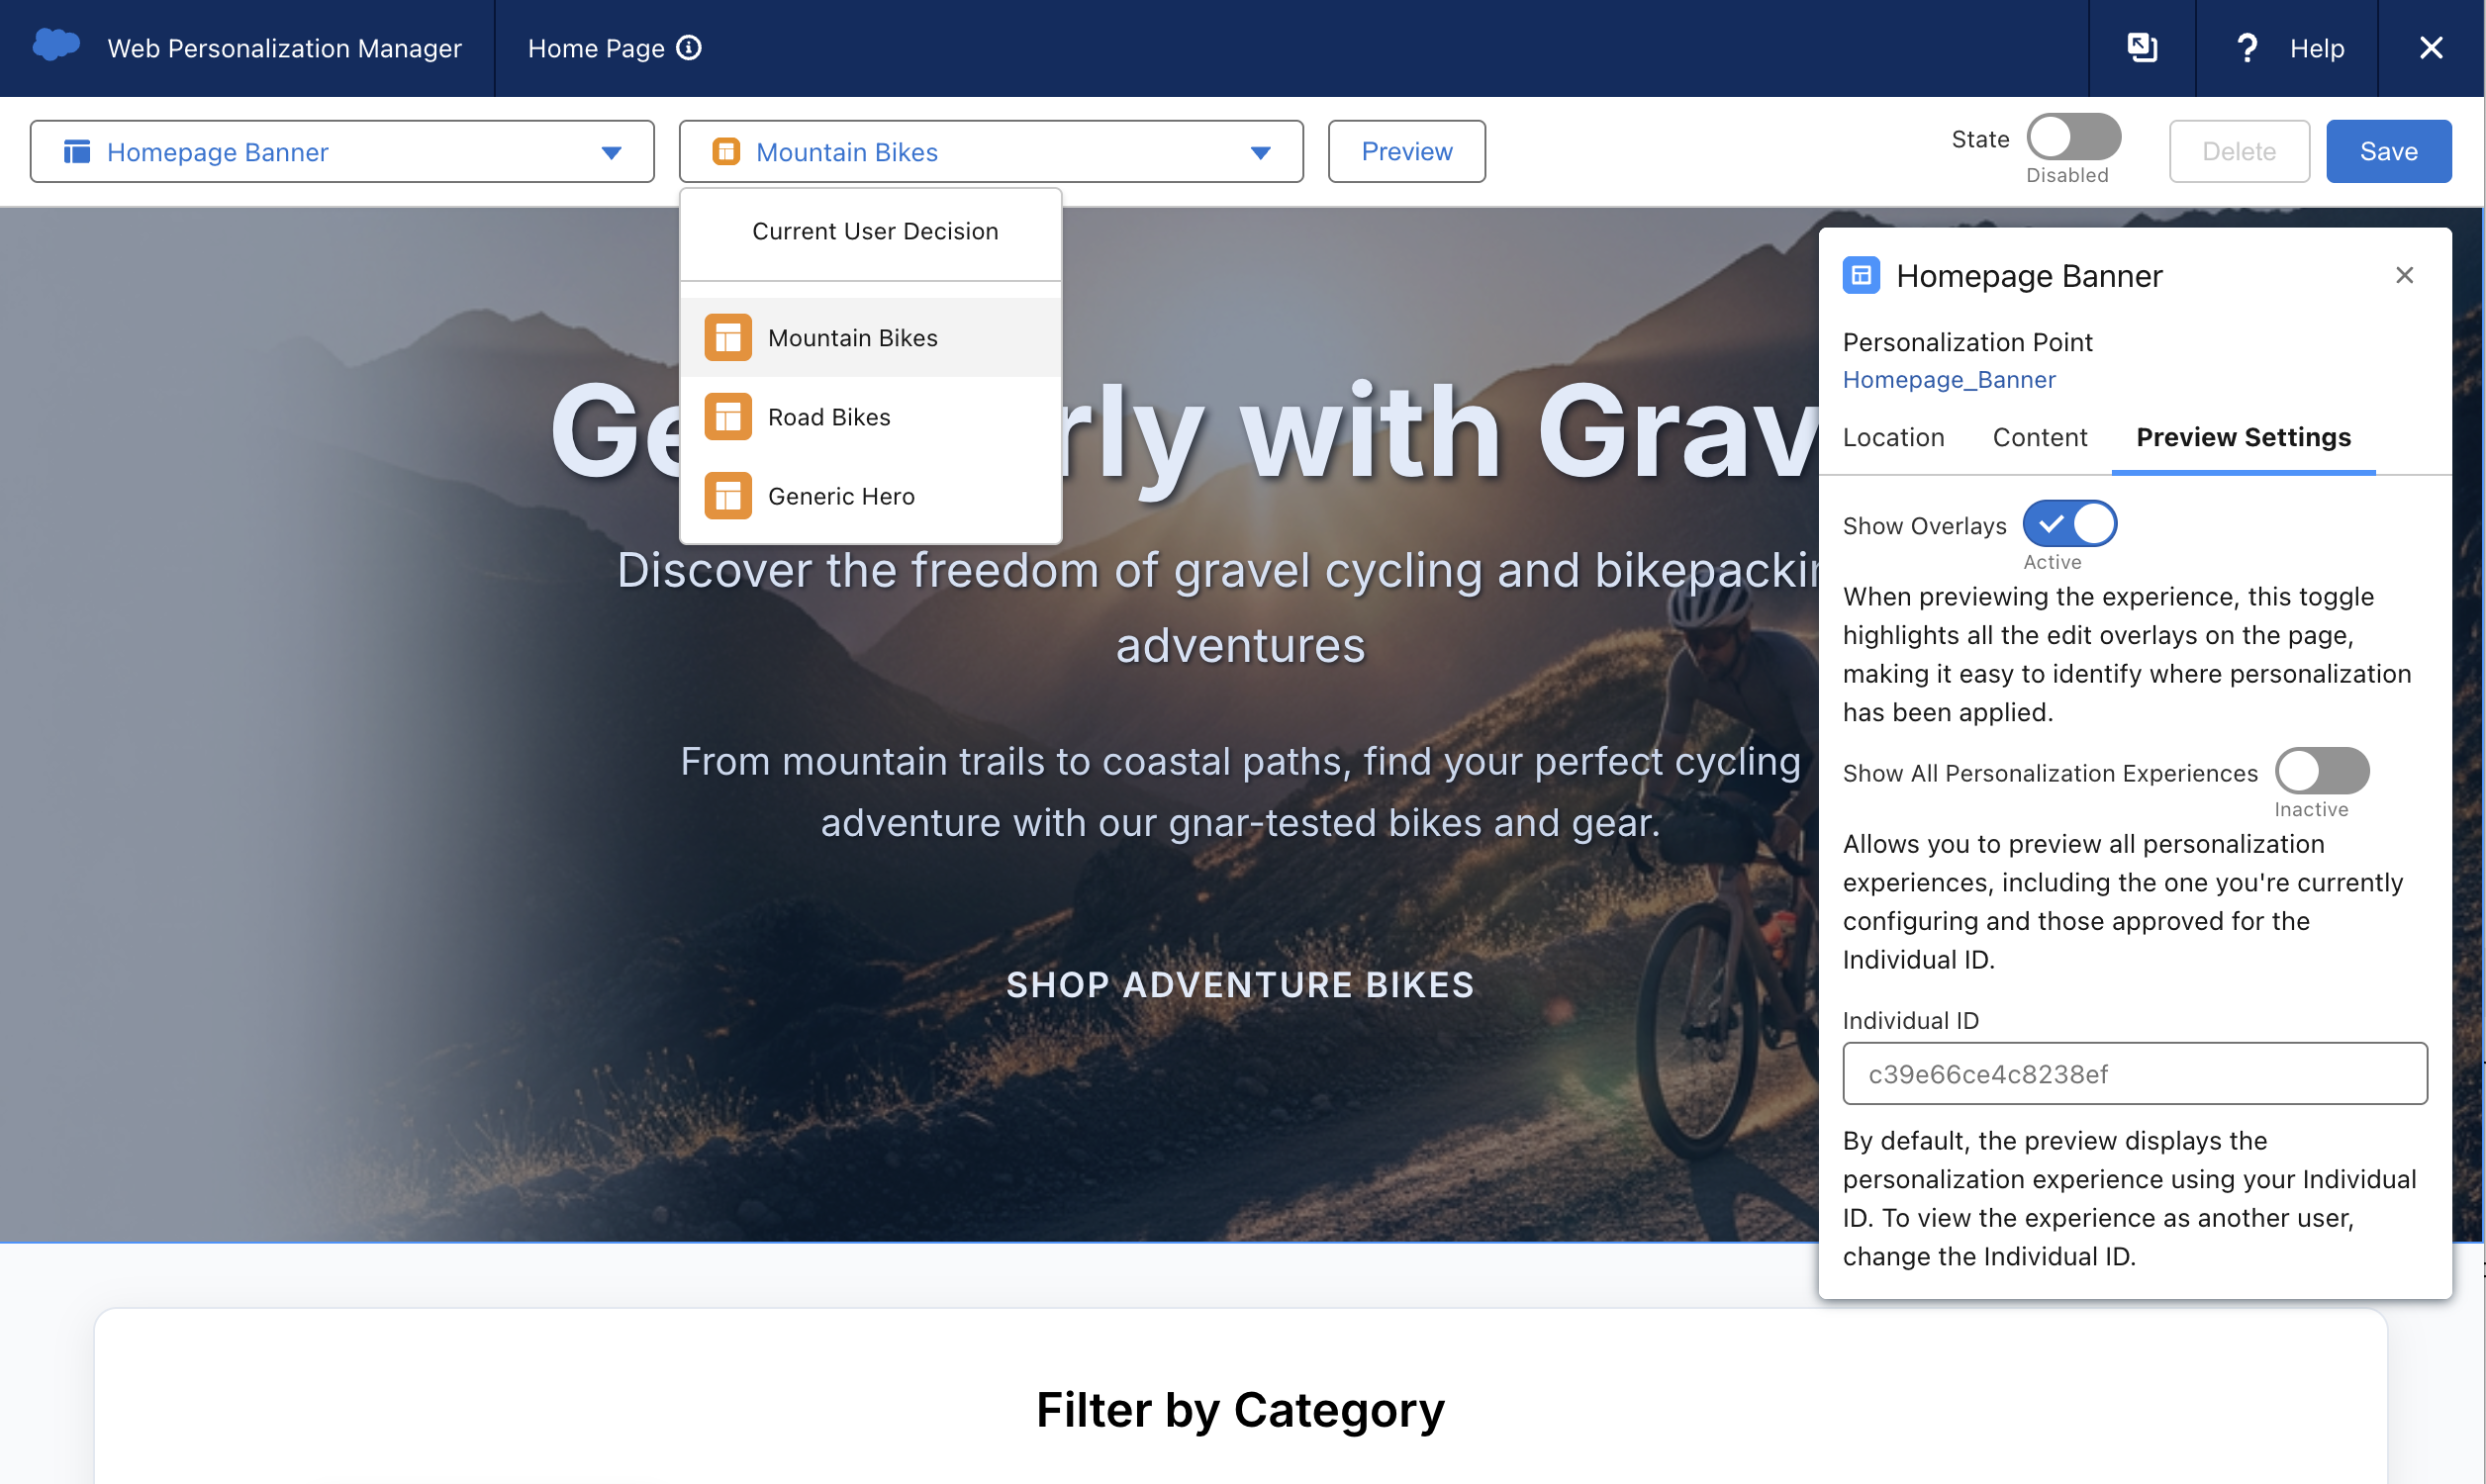
User Previews
Enter an Individual ID in the Individual ID field to preview the personalization experience from the perspective of a specific website user. This lets you verify how the experience will appear based on that individual’s profile and attributes.
- Click the
Close icon in the top-right corner of the Web Personalization Manager toolbar, then click Reload when prompted. You don’t need to save the experience for this exercise.
Configure a Product Recommendations Experience
In this exercise, you will configure a Product Recommendations experience using the Recommendations Personalization Point that you created in the Personalization Points workshop.
- Append the parameter
?sf_personalization_wpmto the demo website URL and login when prompted. - Navigate to the Carbon Road Bike - Aero Elite product detail page.
- Click Personalization Experiences from the Web Personalization Manager toolbar, then click
Add New. - Select Configure Embedded Content tile in the Configure Personalization Experience dialog, then click Next.
- Select the PDP Recs Personalization Point, then click Next.
- Select the SimpleRecs template tile, then and click Next.
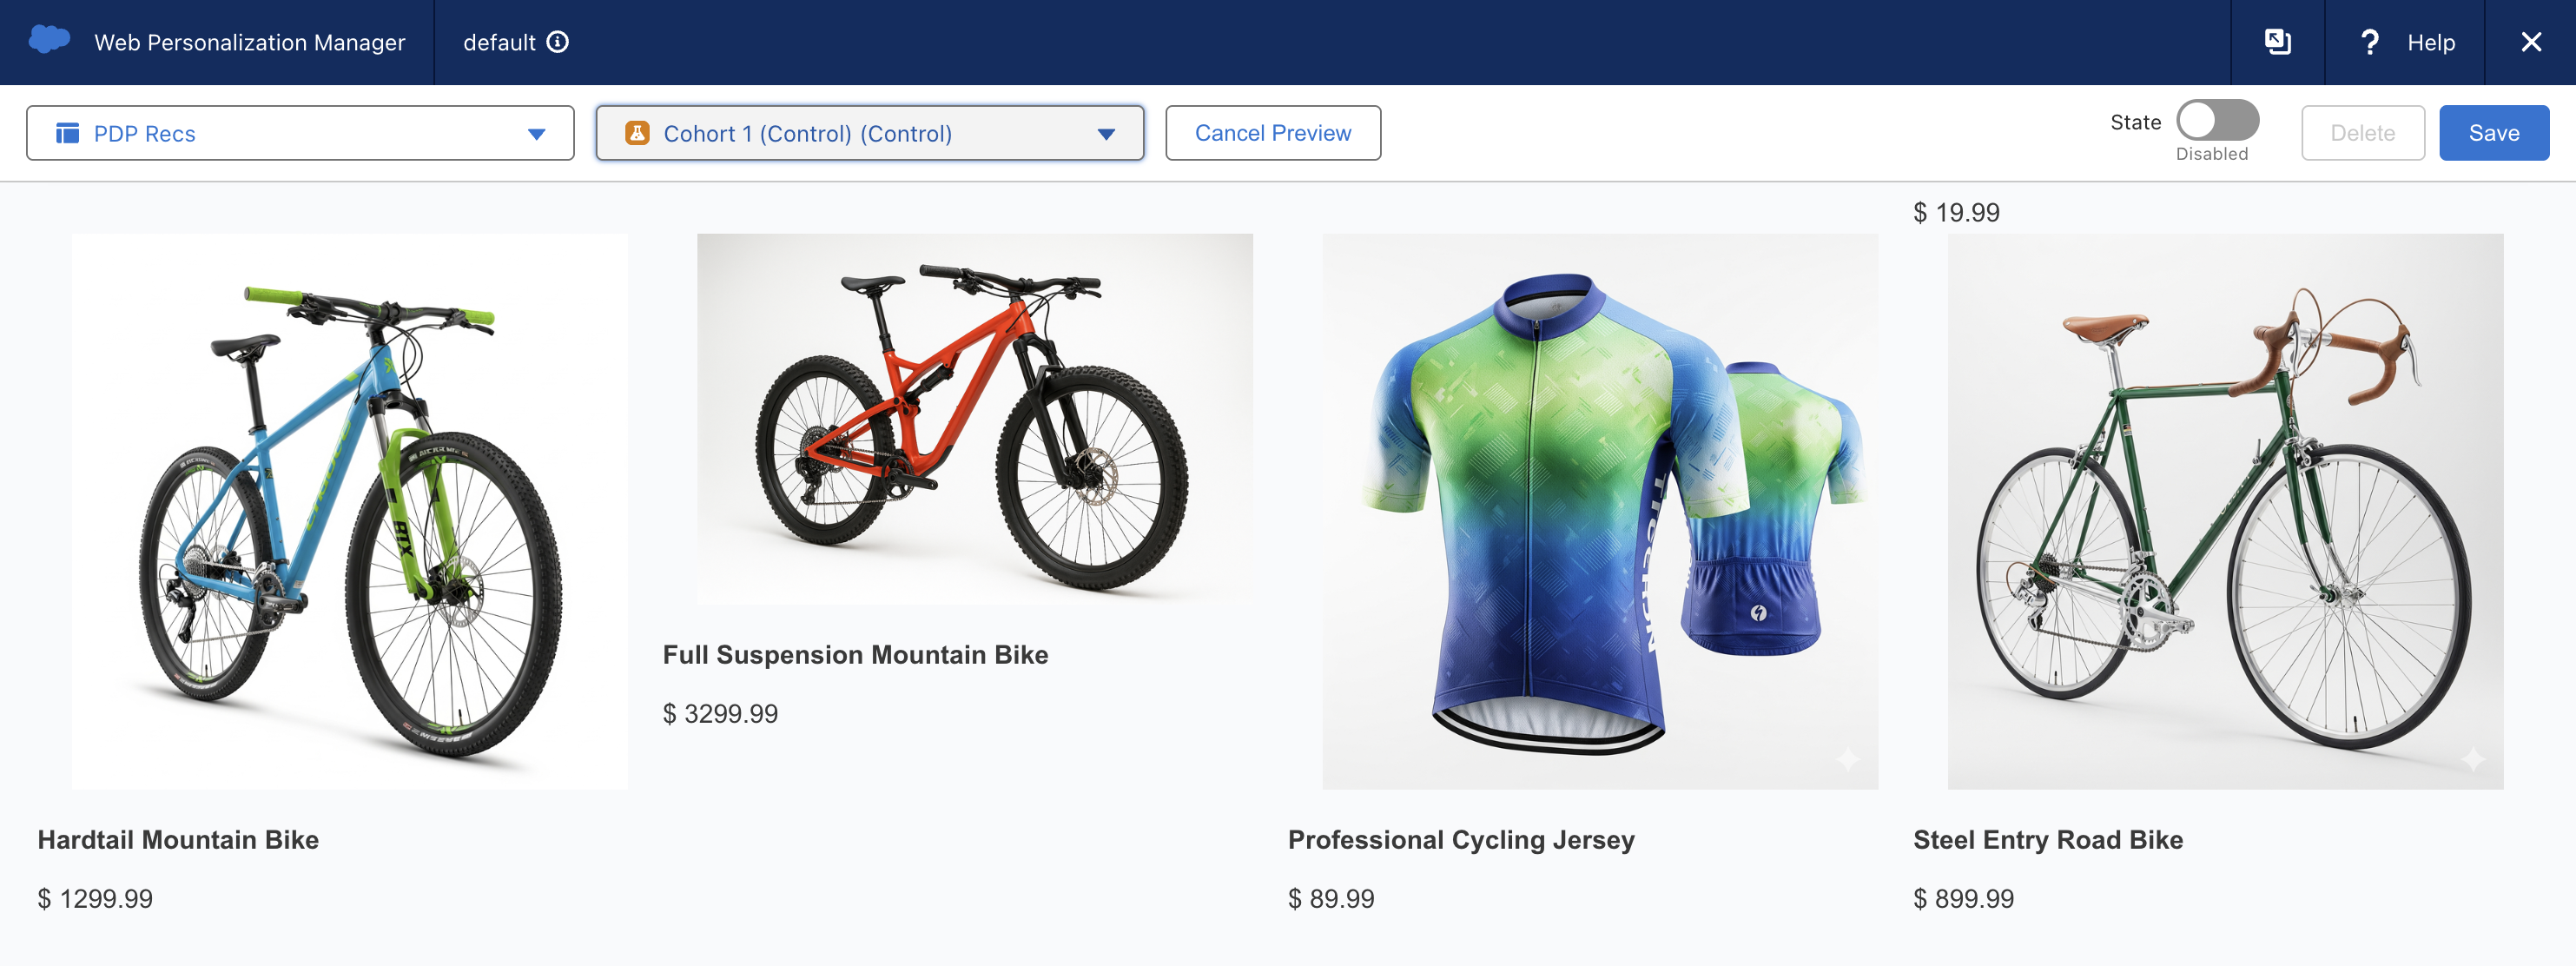
- From the PDP Recs panel, change the Method to Display on Page option to Add After an Element, then click Select Element.
- Move your cursor over the page until DIV.product-detail is highlighted, then click to select it as the target element.
- Select the Content tab. For Engagement Tracking, leave the Engagement Destination field set to Product Engagement, as this experience is designed for product recommendations.
- Select a decision from the Web Personalization Manager toolbar, then click Preview and scroll down the page to preview the product recommendations.
- Click the
Close icon in the top-right corner of the Web Personalization Manager toolbar, then click Reload when prompted. You don’t need to save the experience for this exercise.